A course for PENTA UC
Fabulous Machines
Game design with mechanisms
Levers, pulleys and gears taken into game design: 3D printed mechanisms that become playful experiences for a real user.
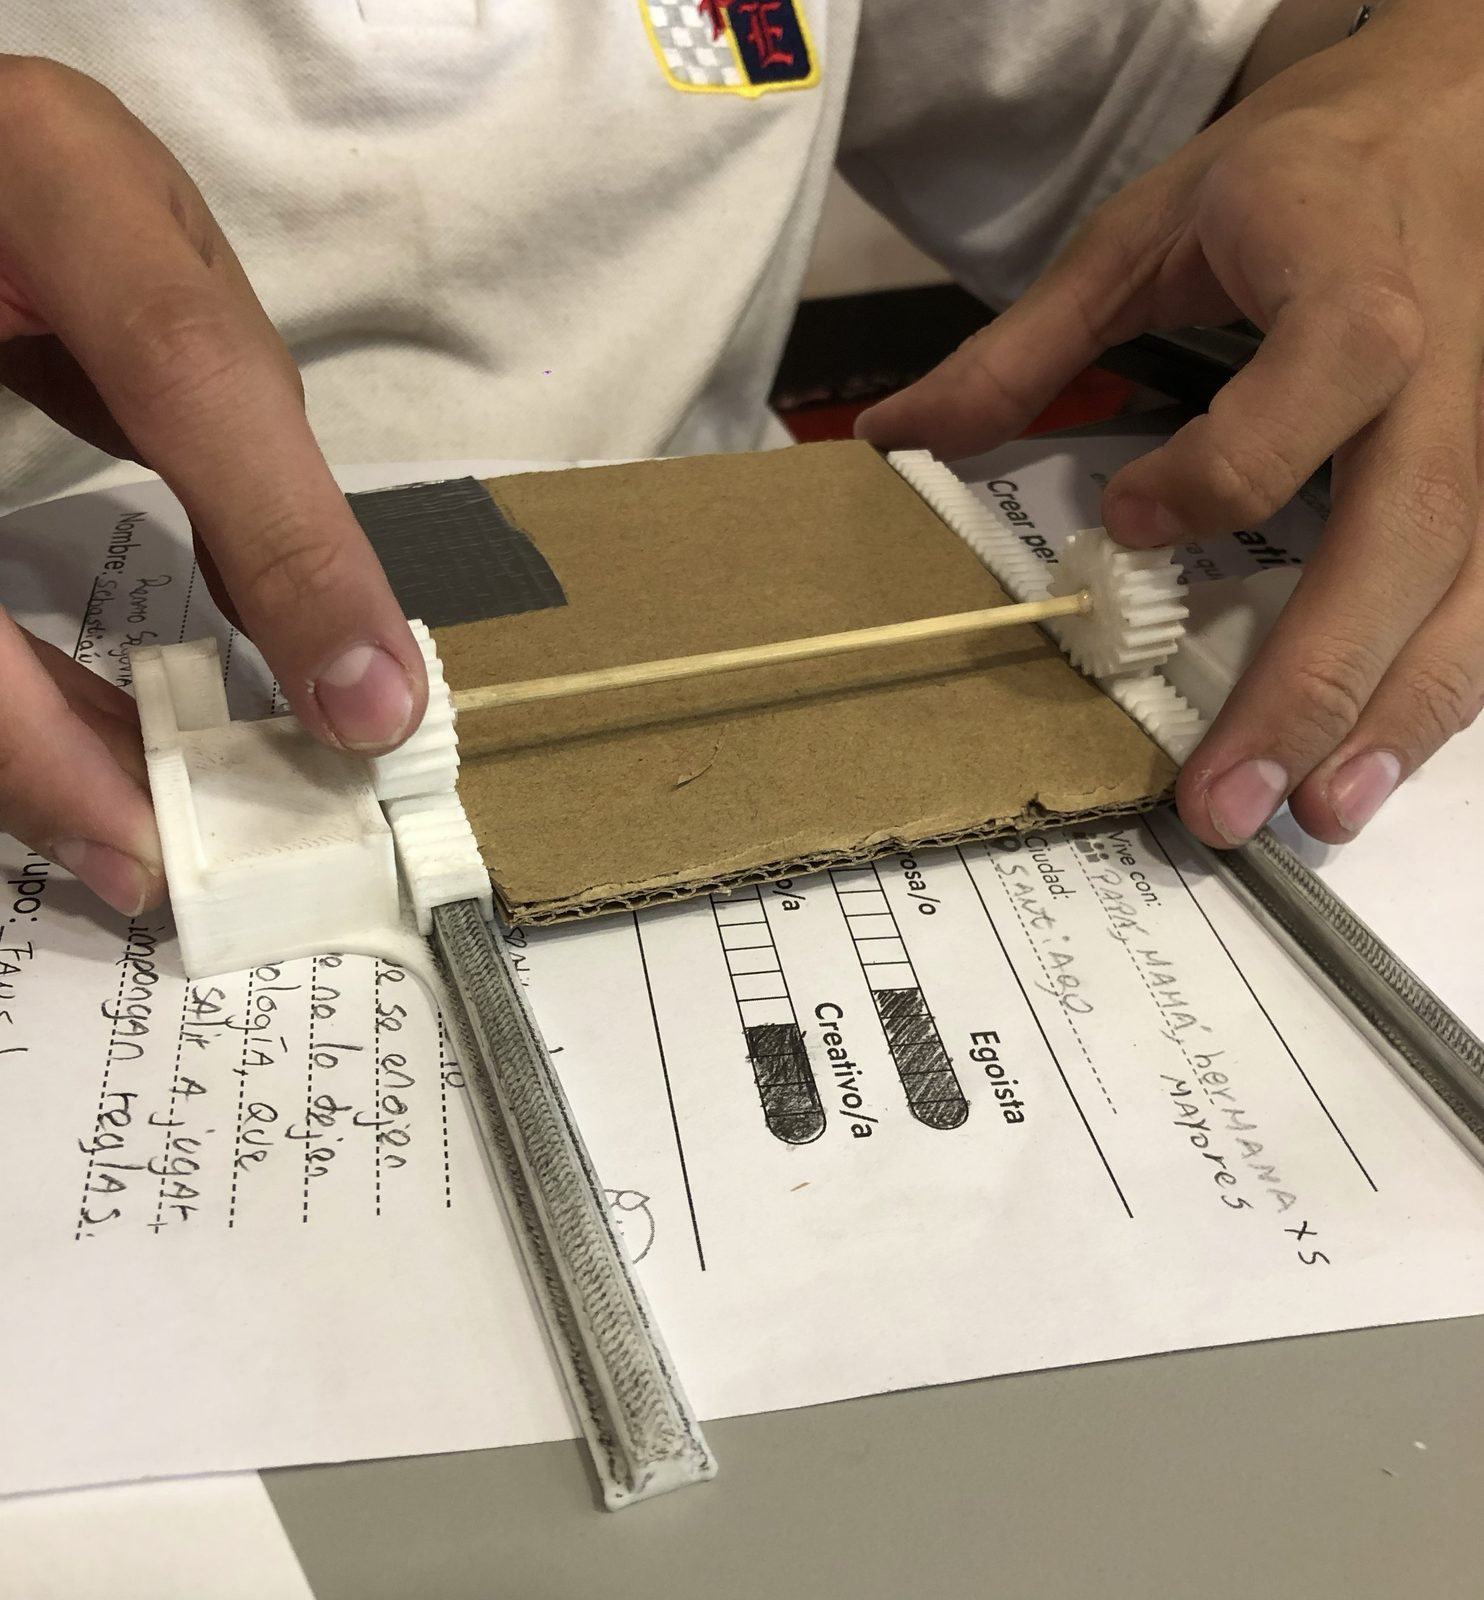
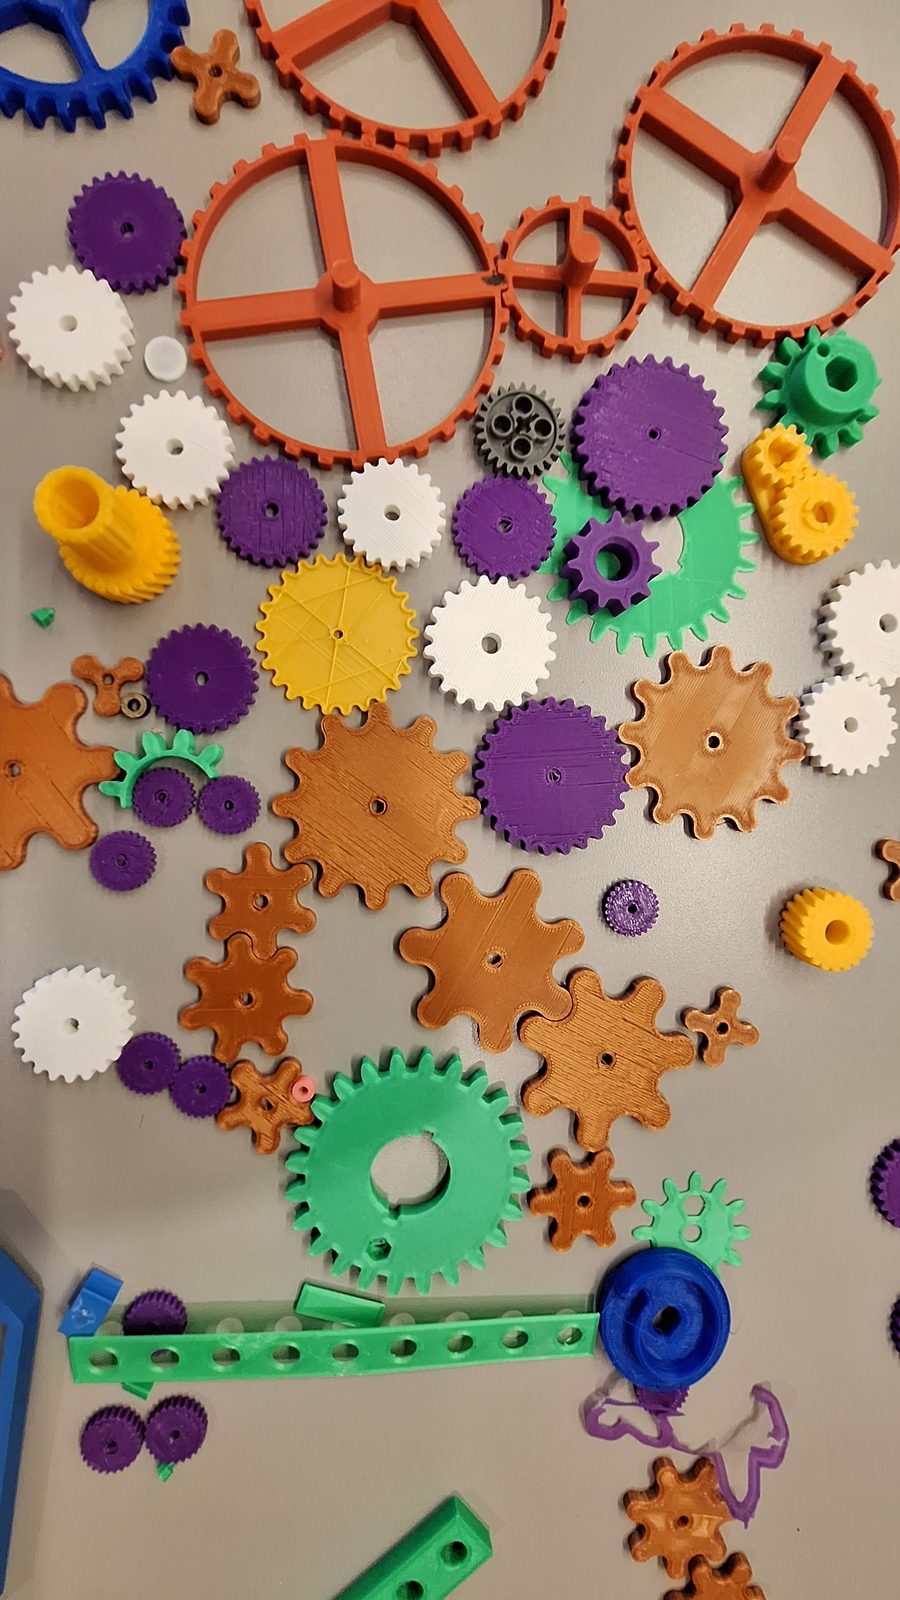
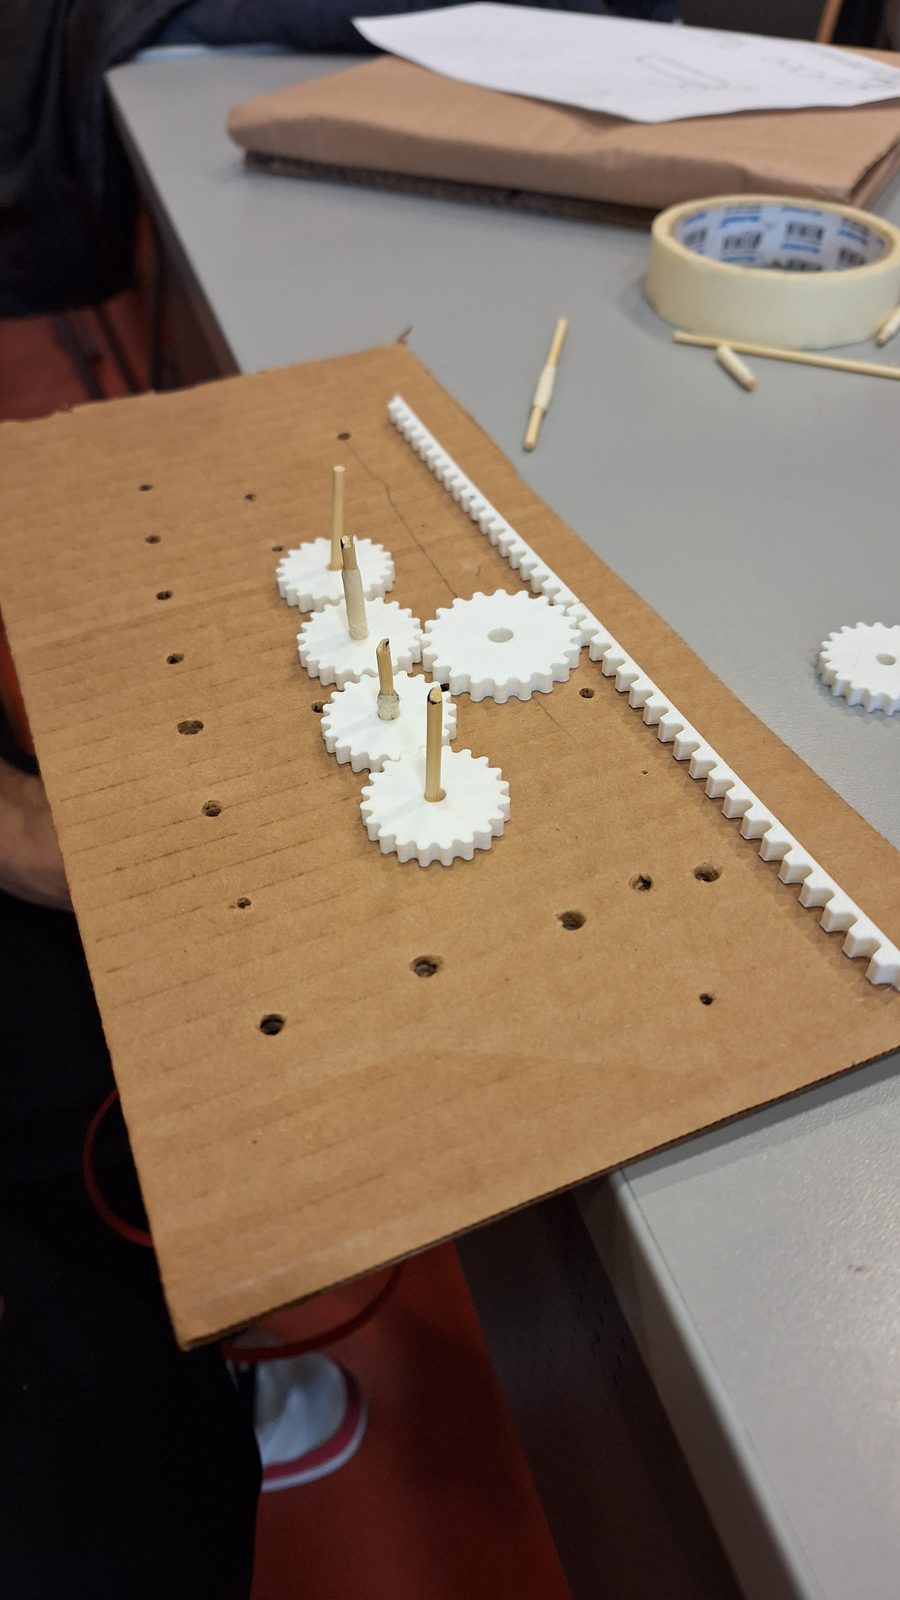
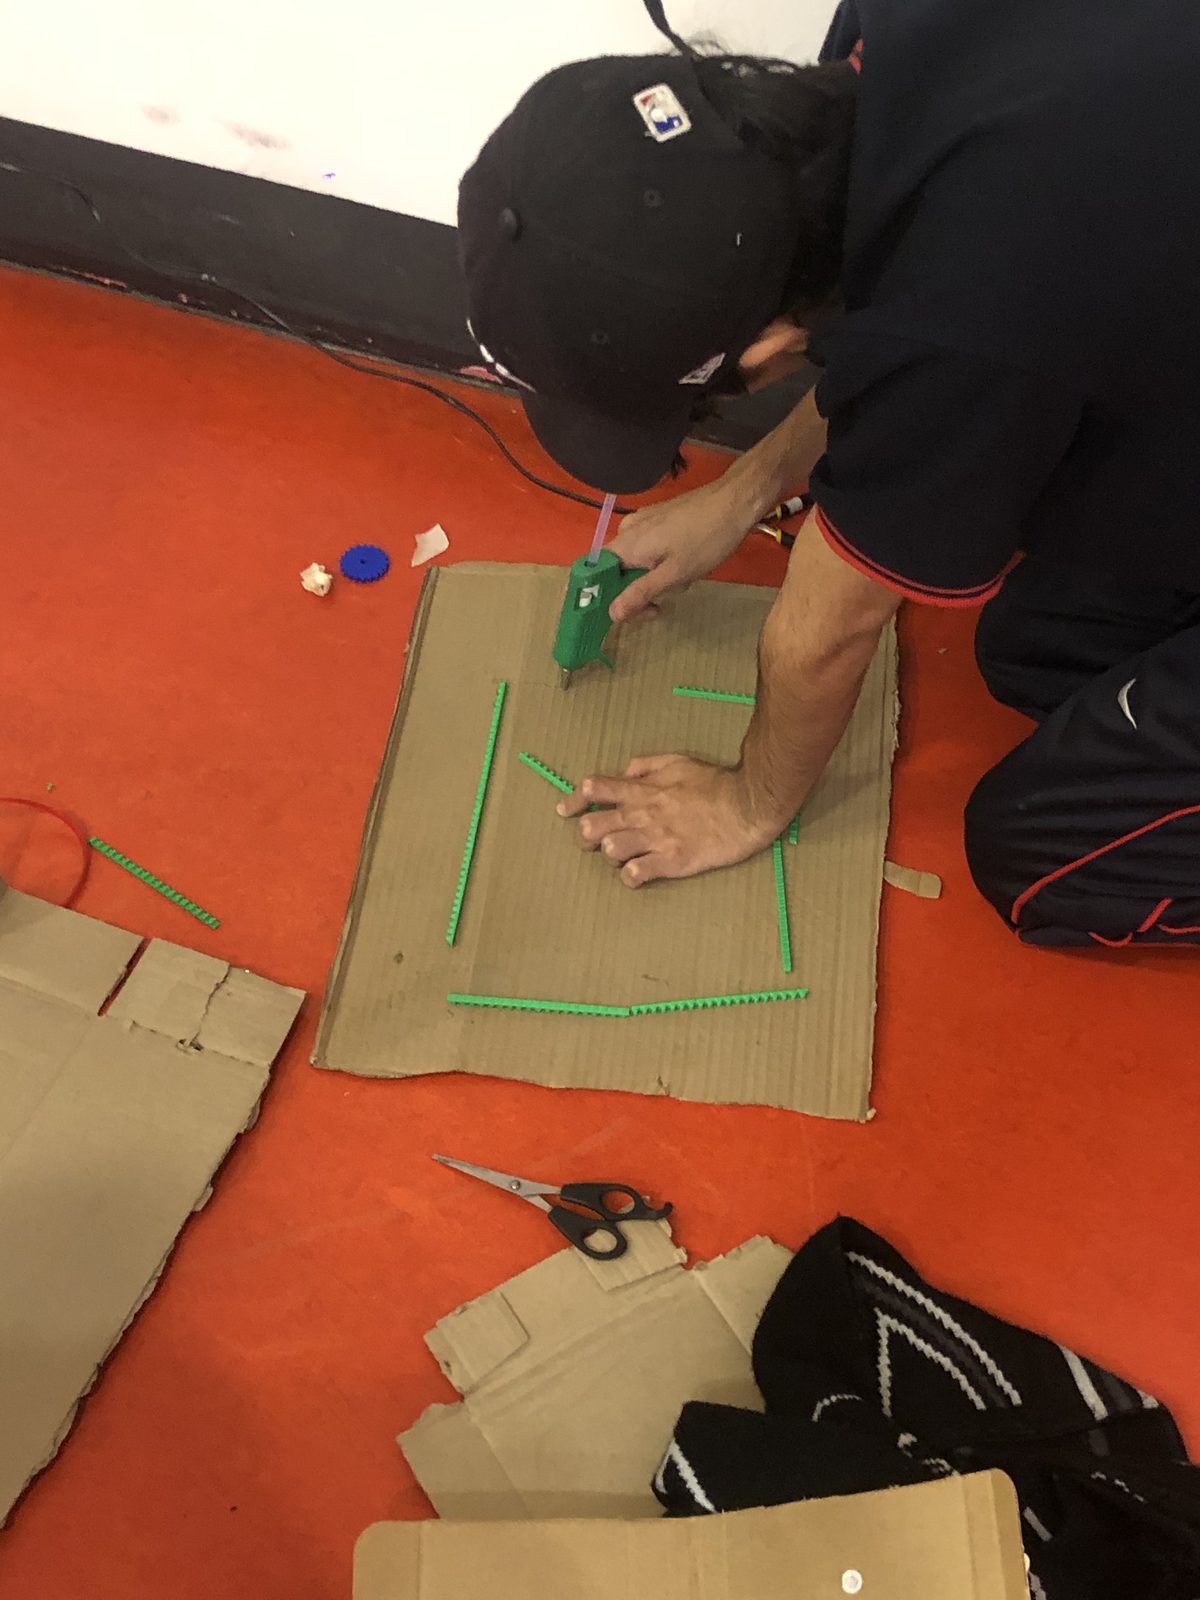
This course takes simple machines, a topic that usually stays on the whiteboard, and pushes it all the way to a playable product. During the first half of the semester students understand and apply levers, pulleys and gears, learning to model them in Tinkercad and 3D print them with the right tolerances so they fit and turn.
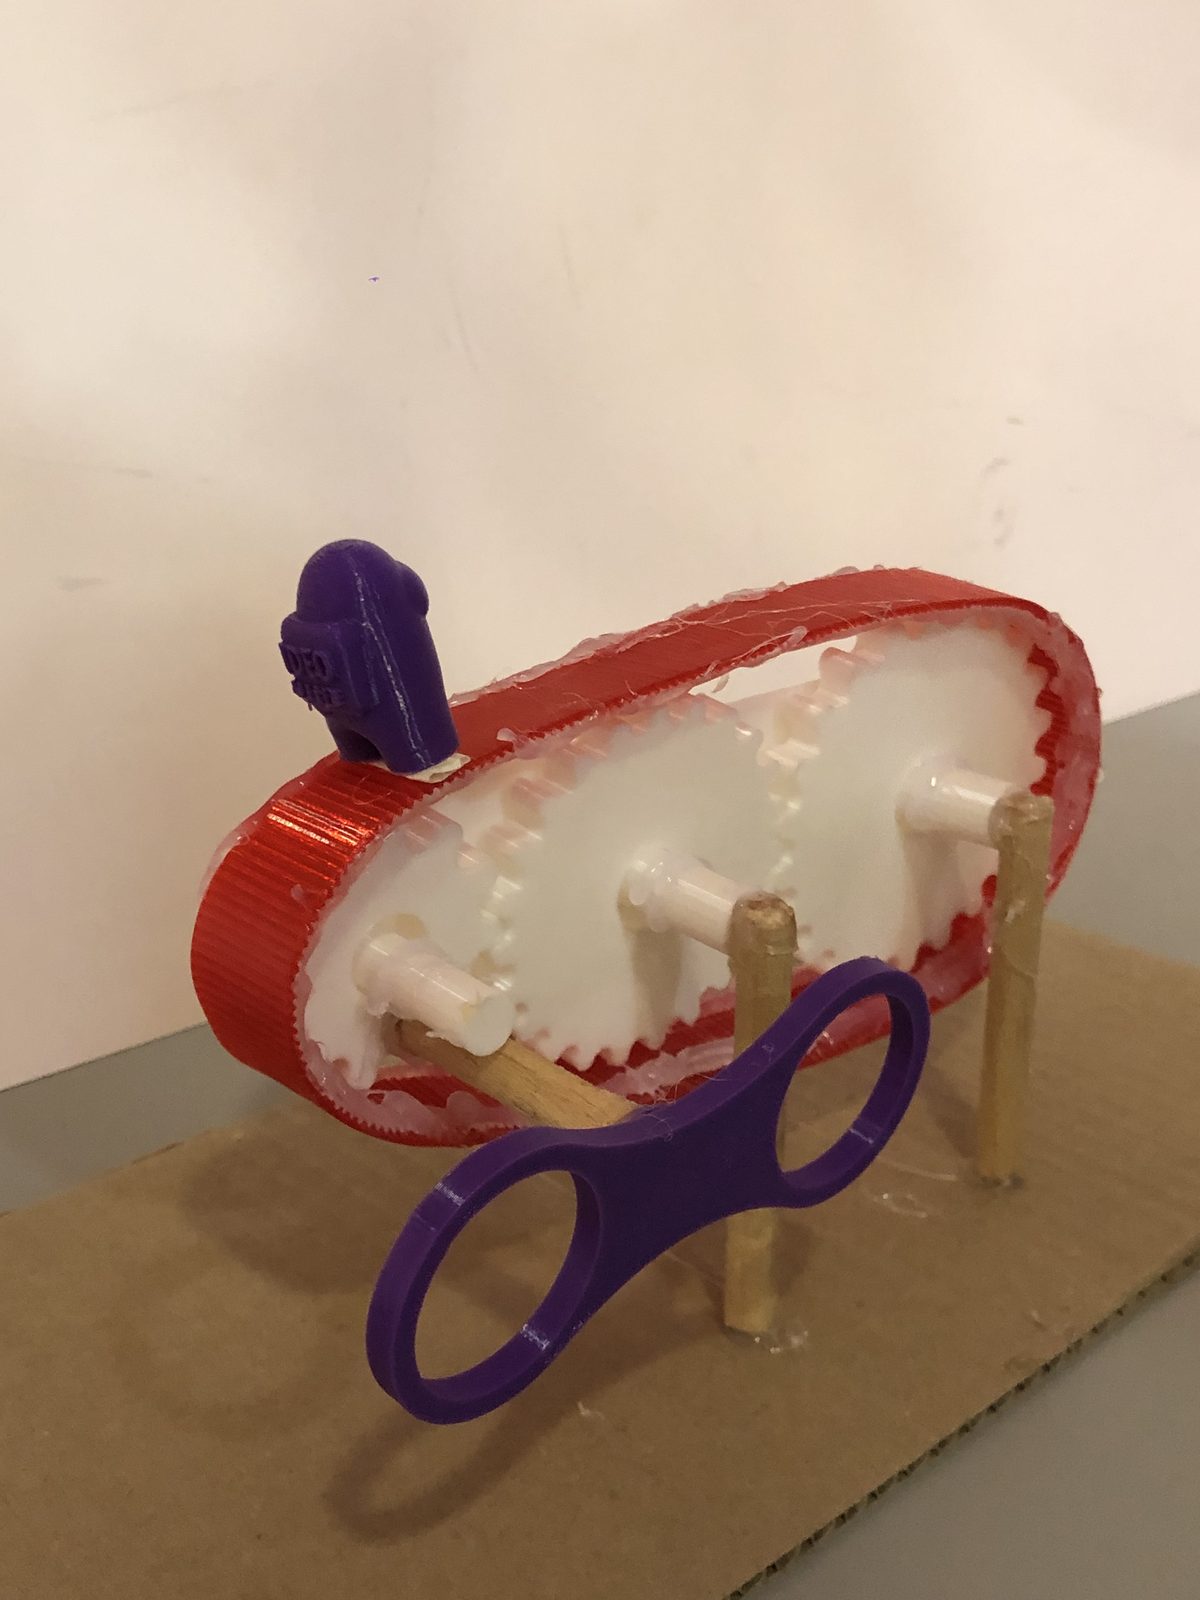
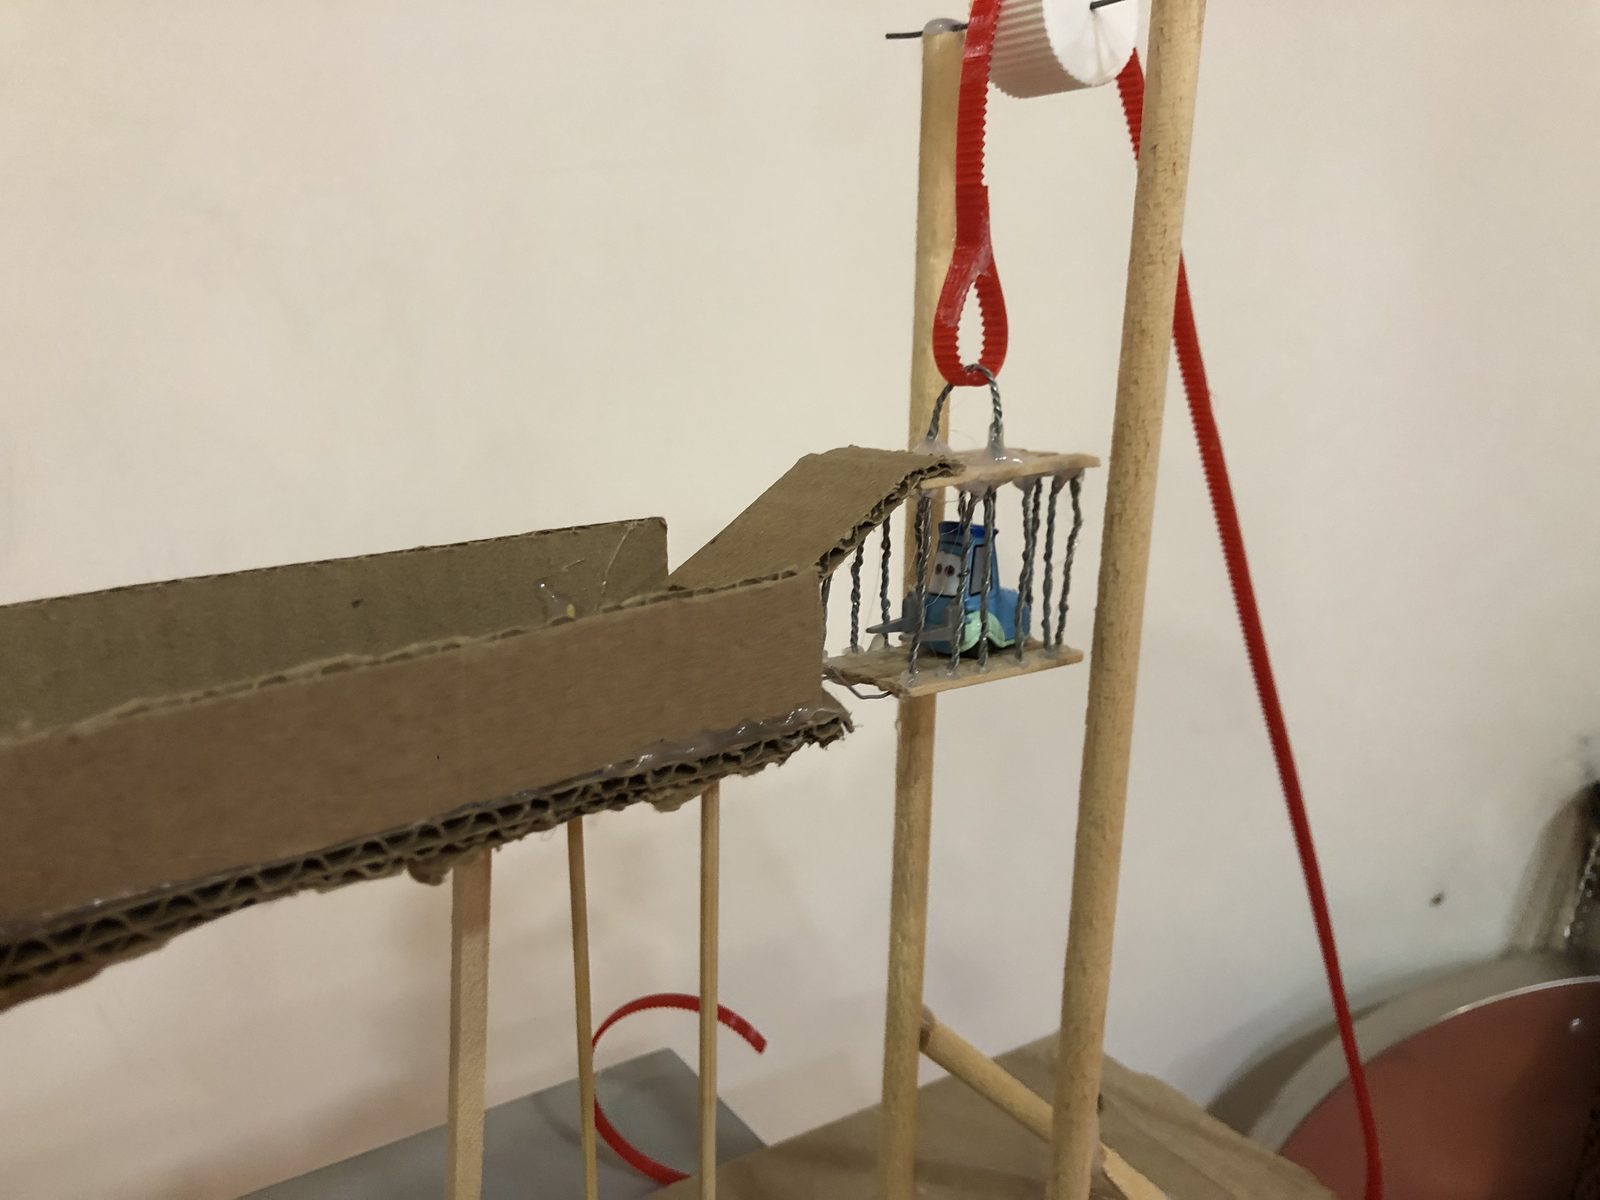
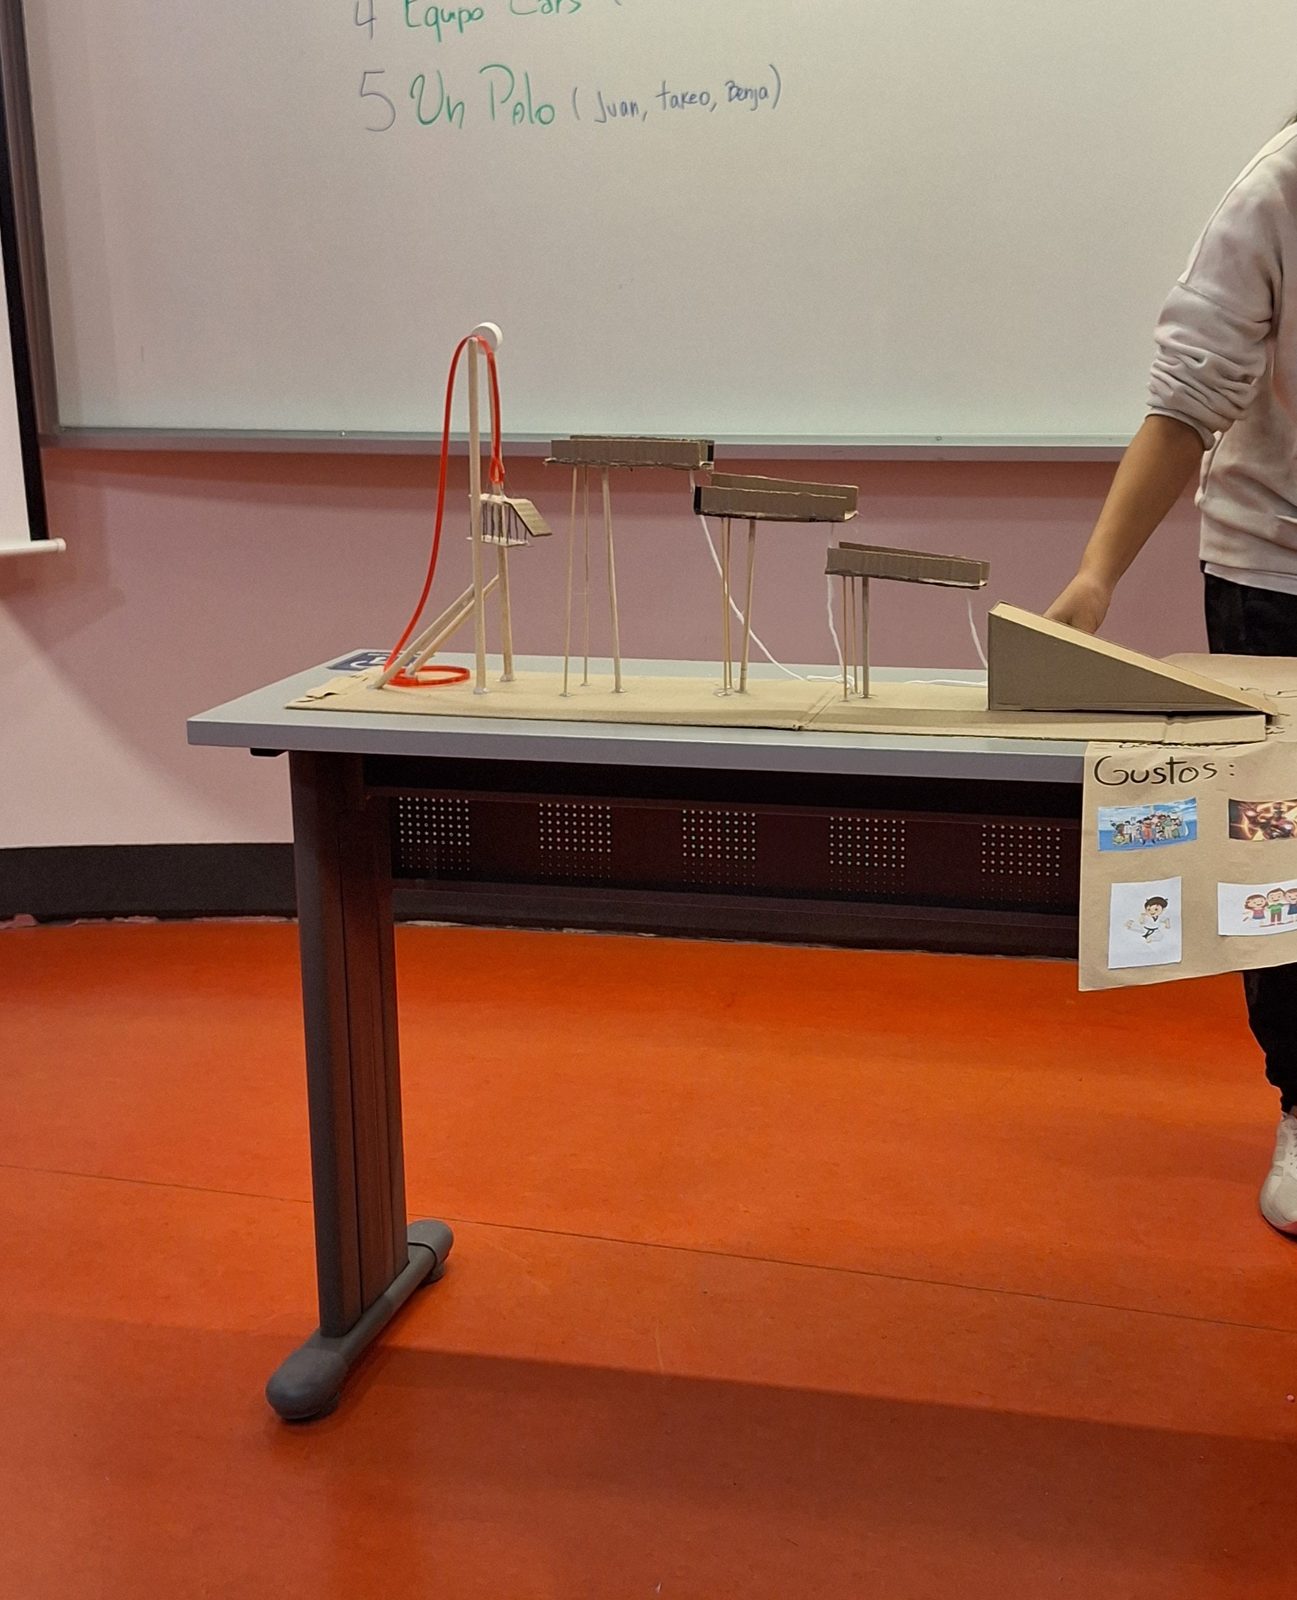
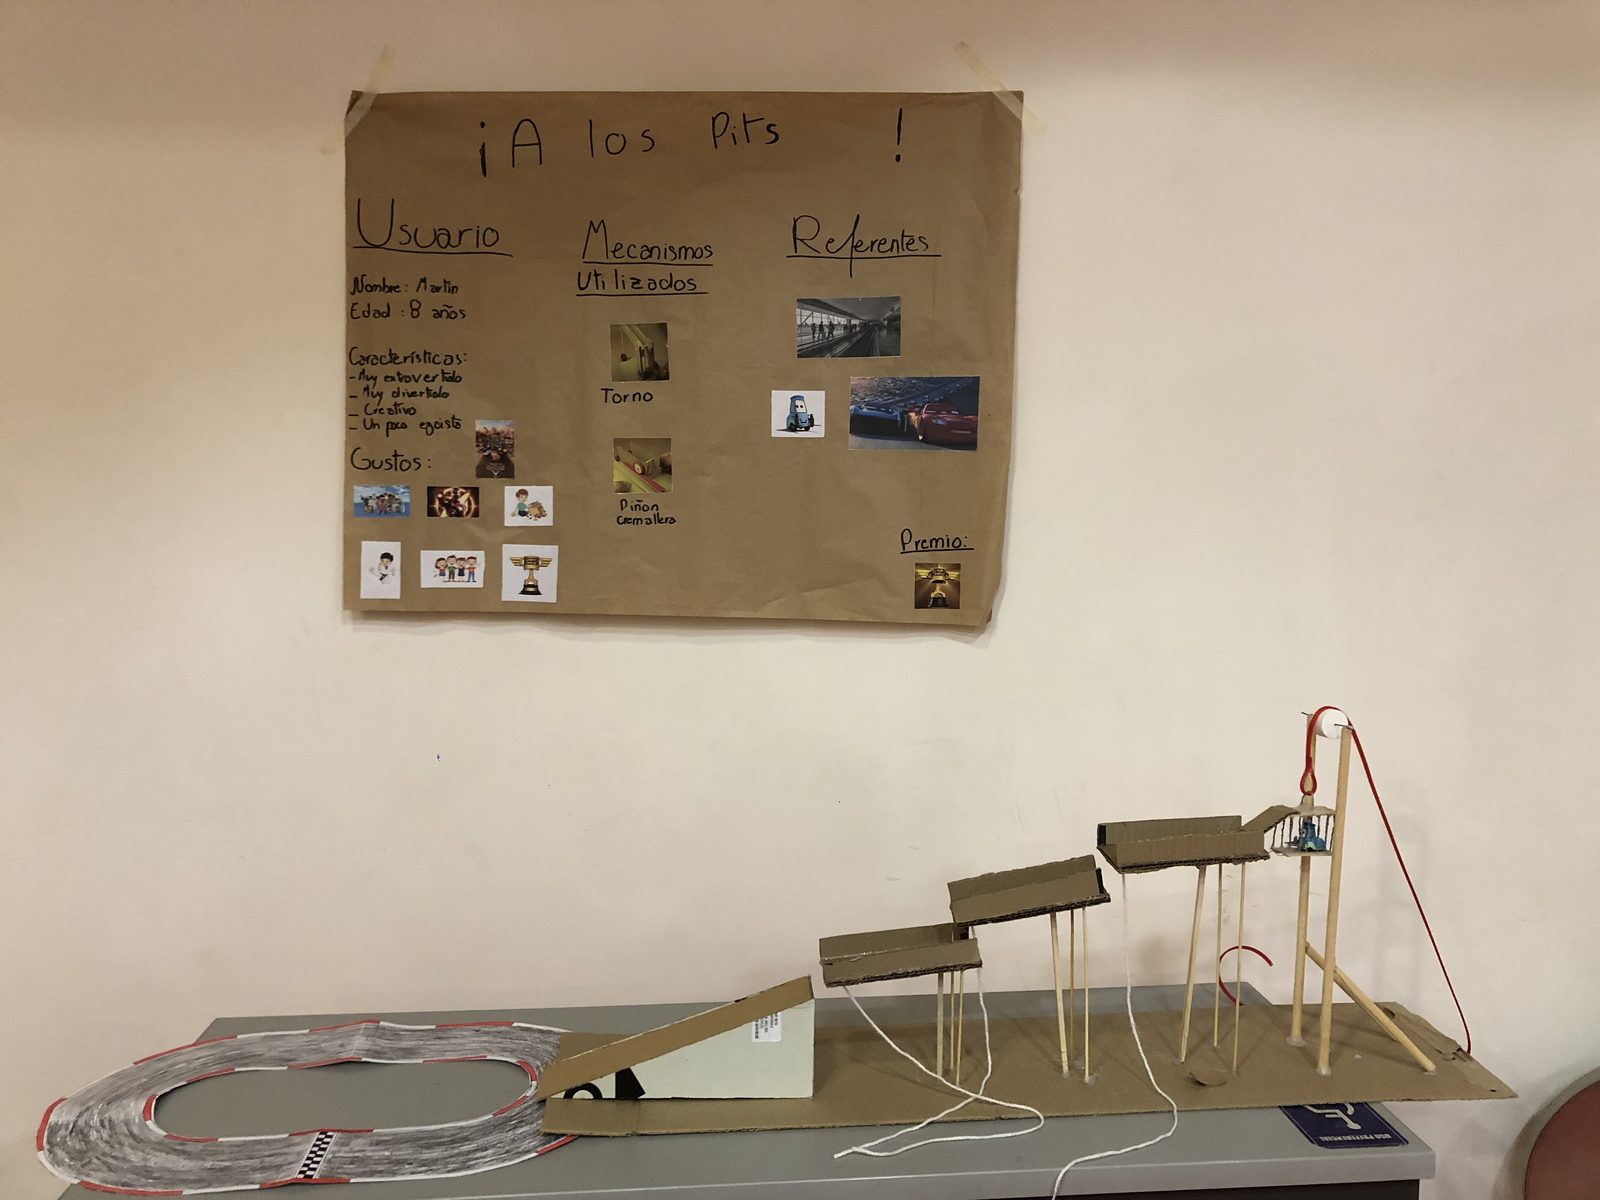
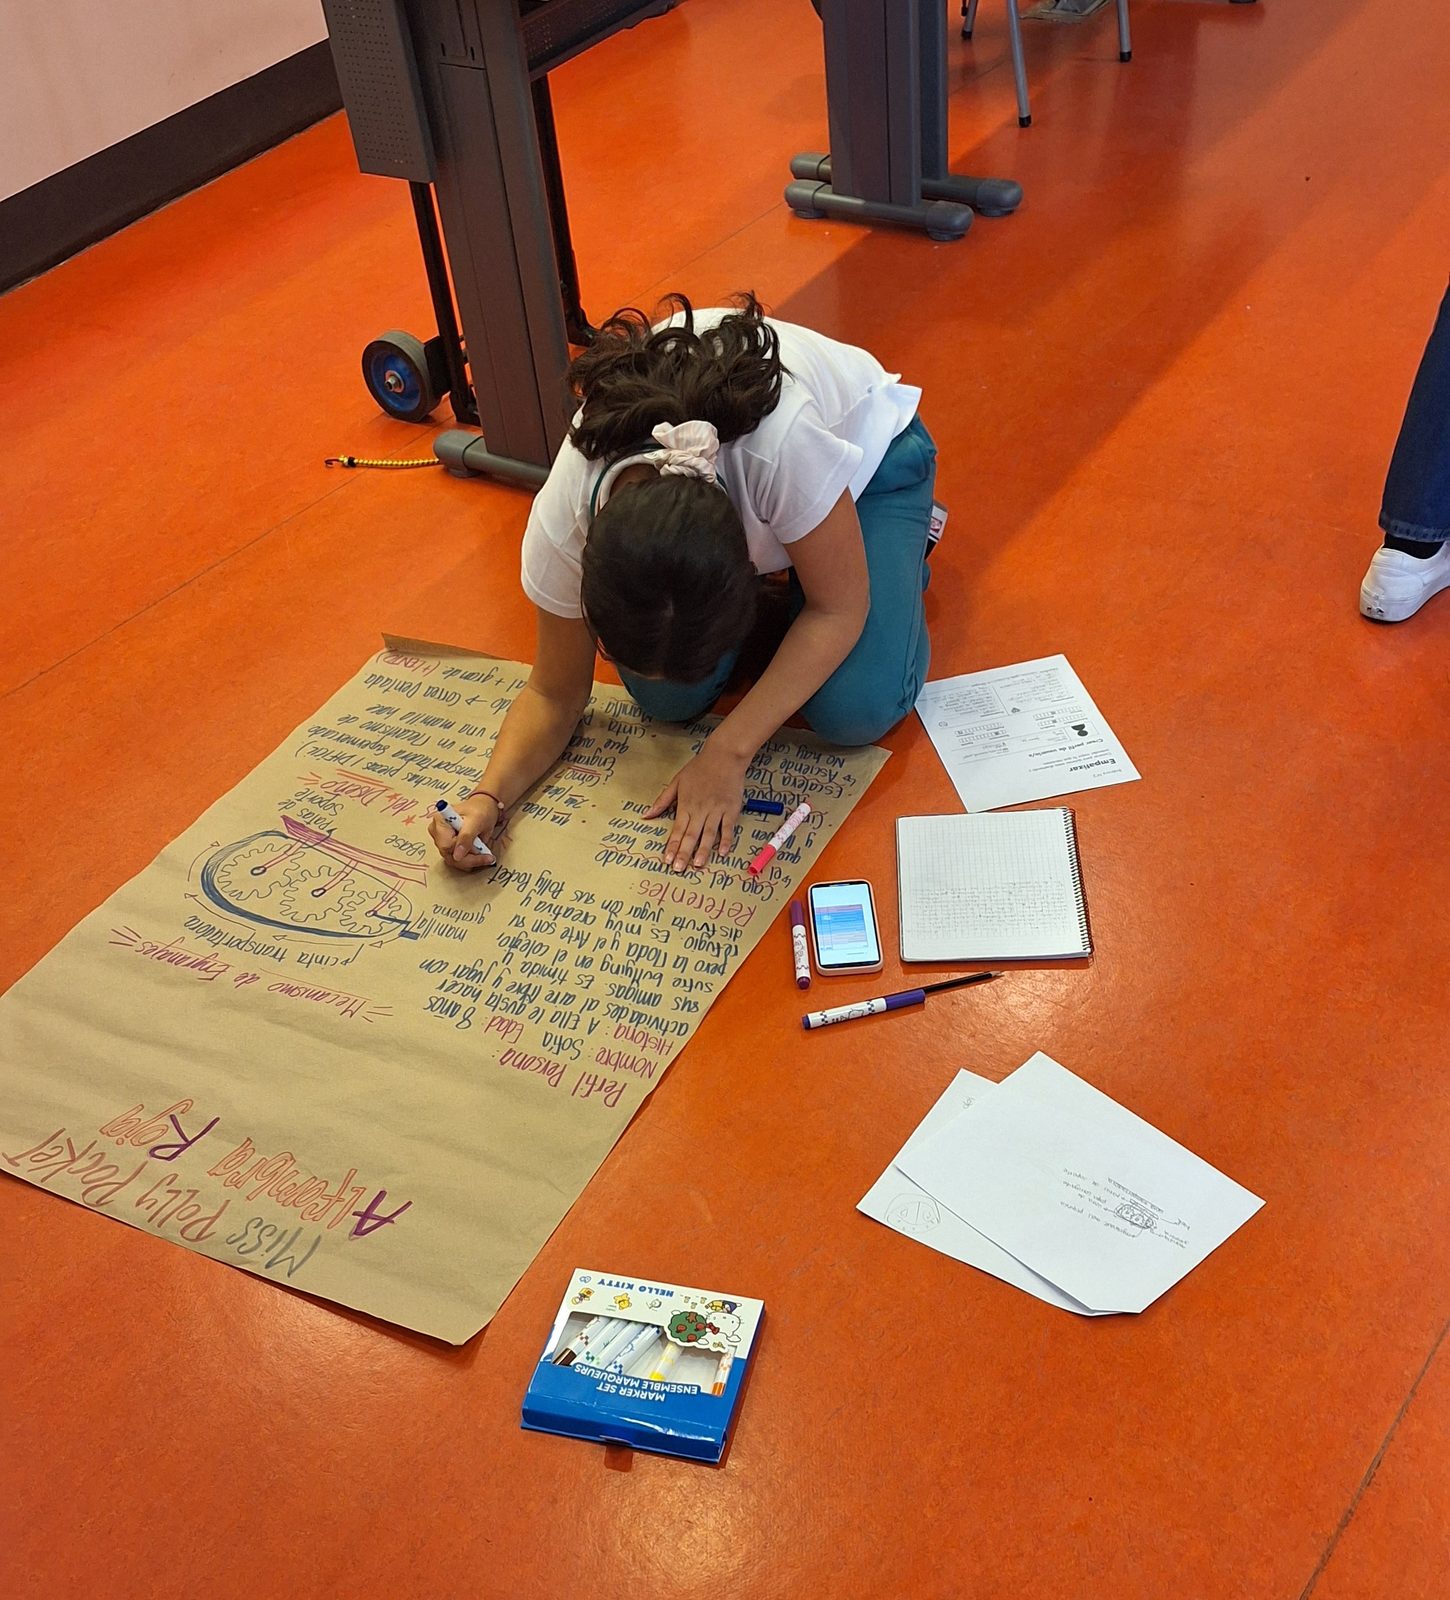
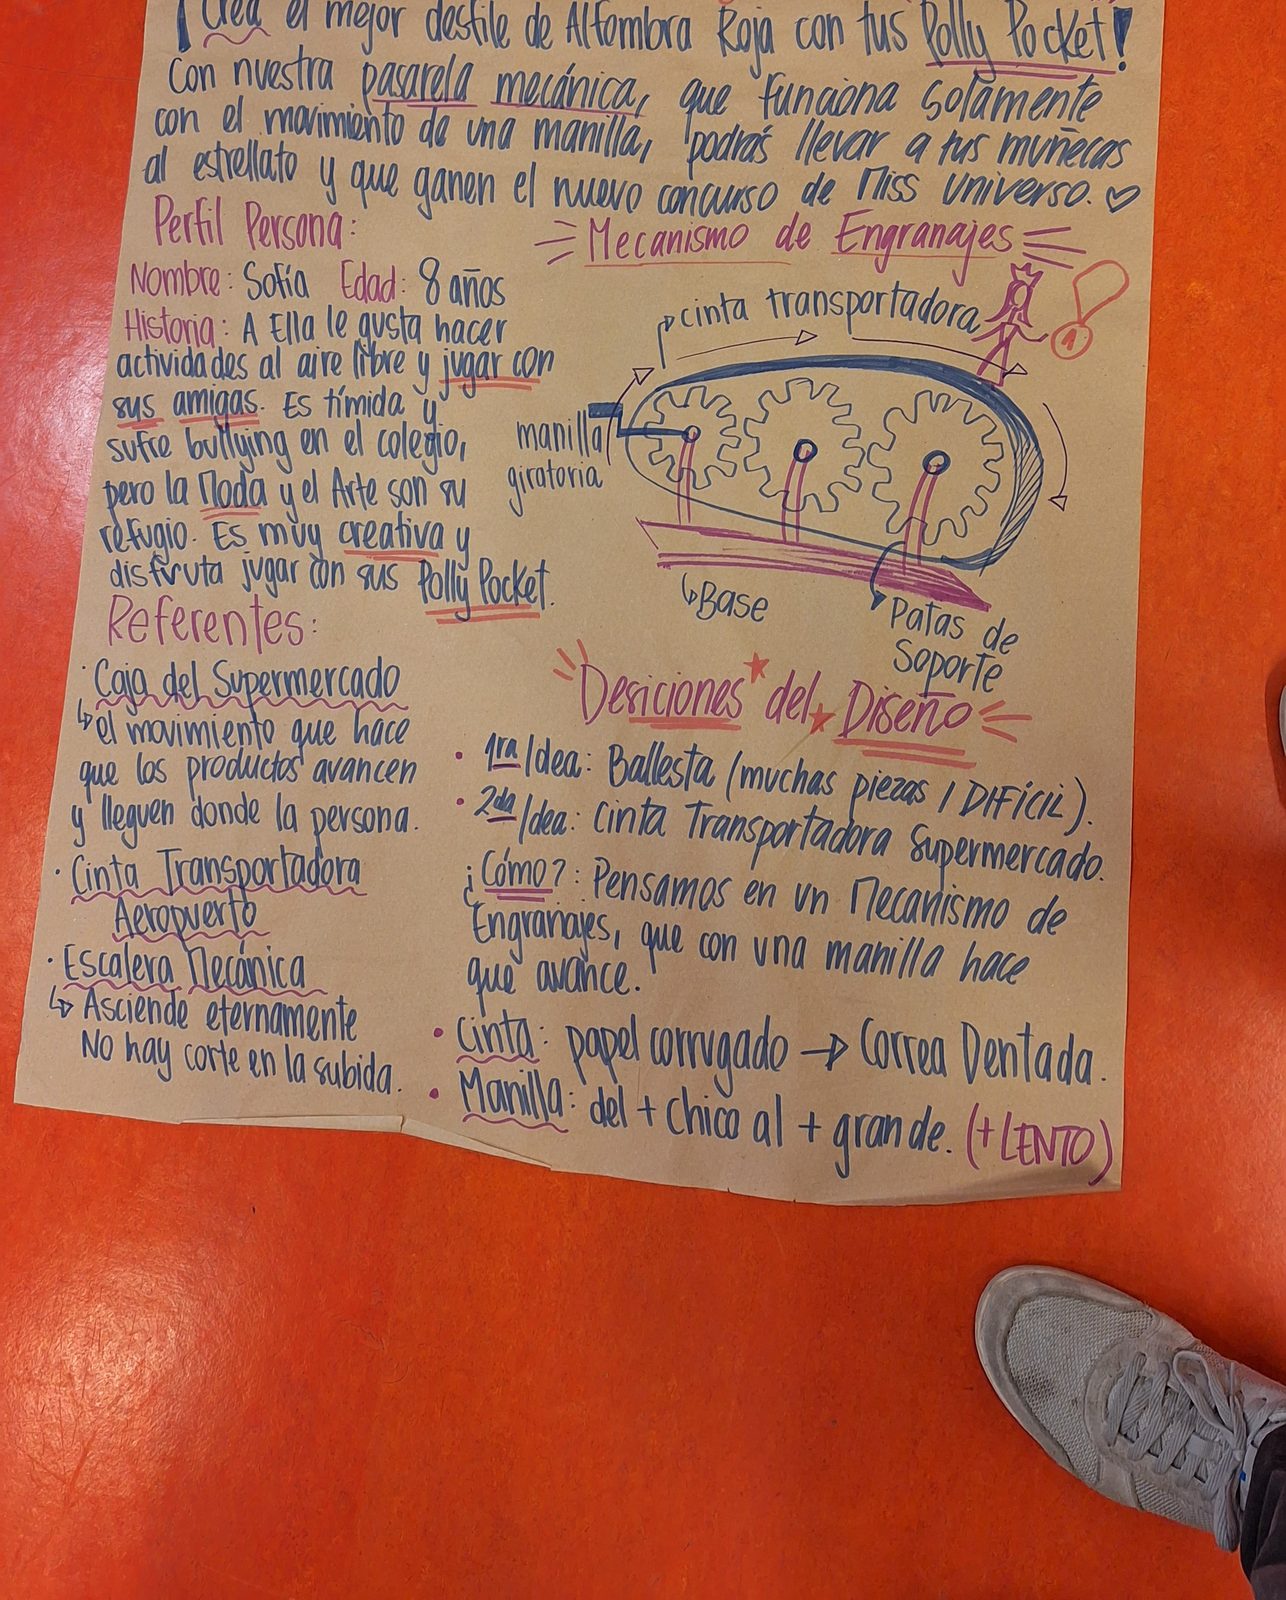
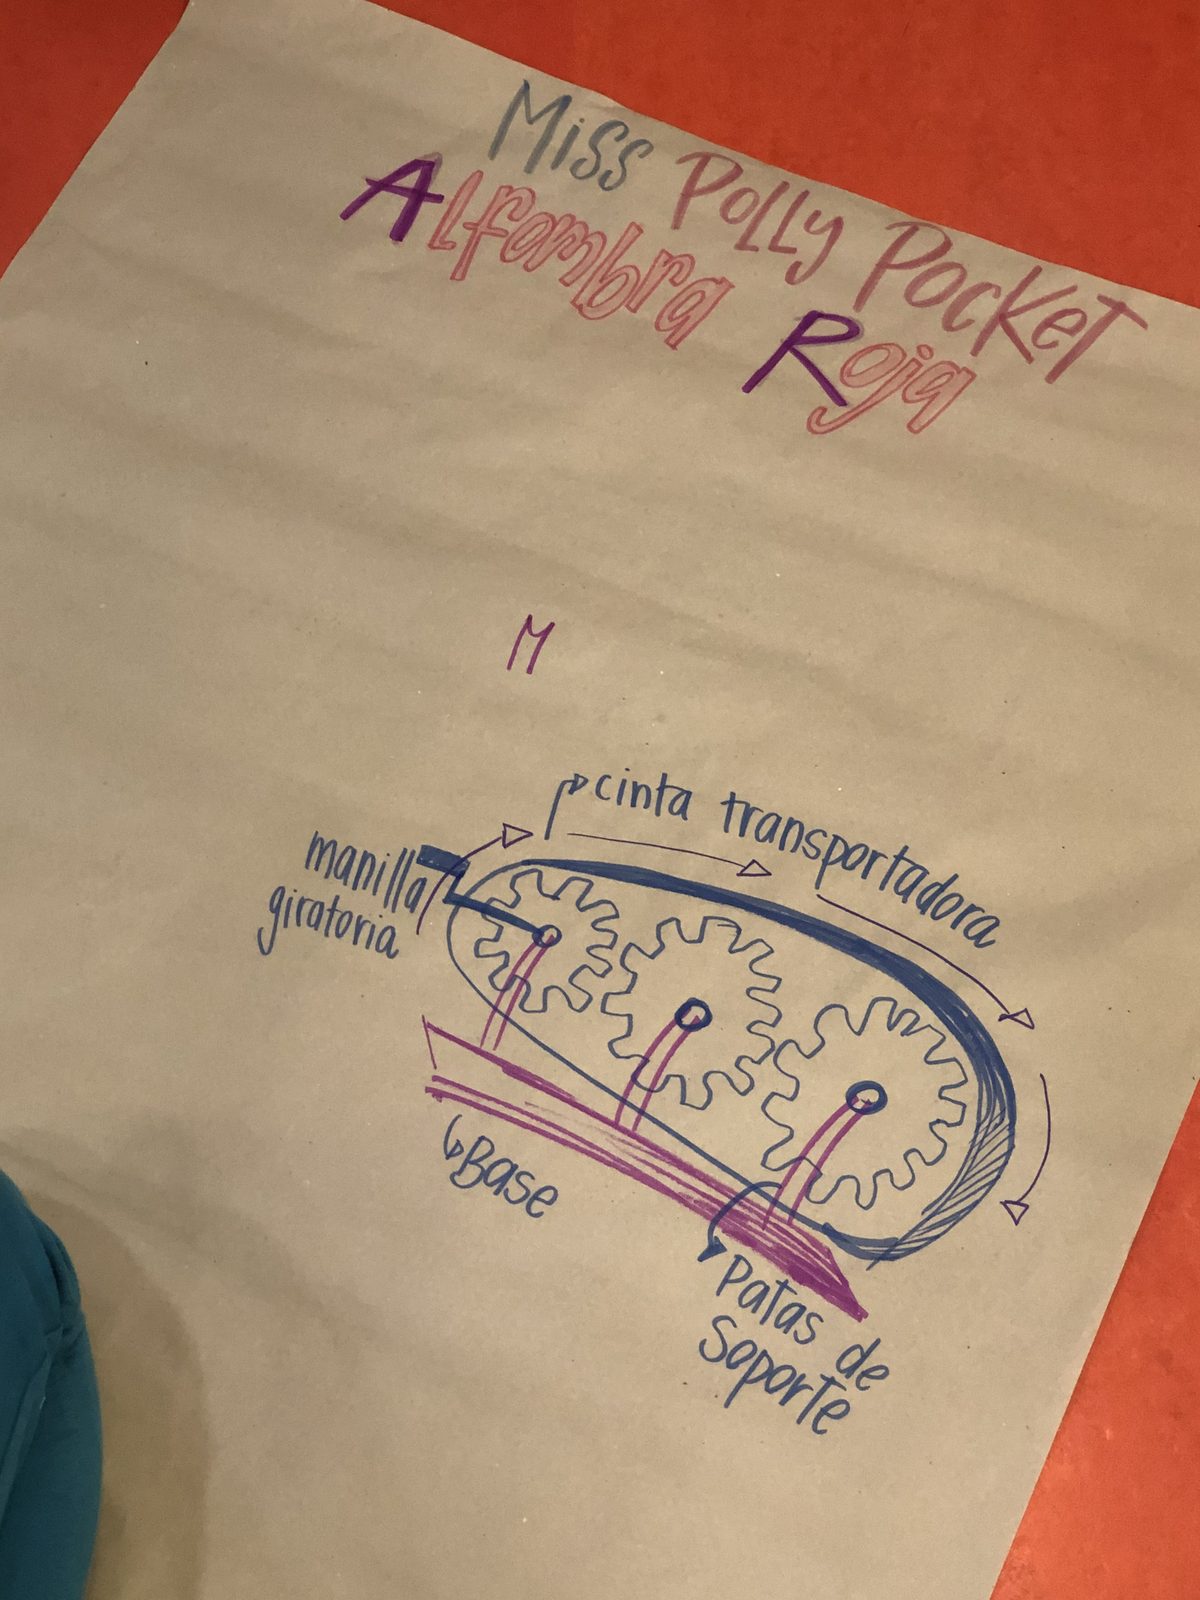
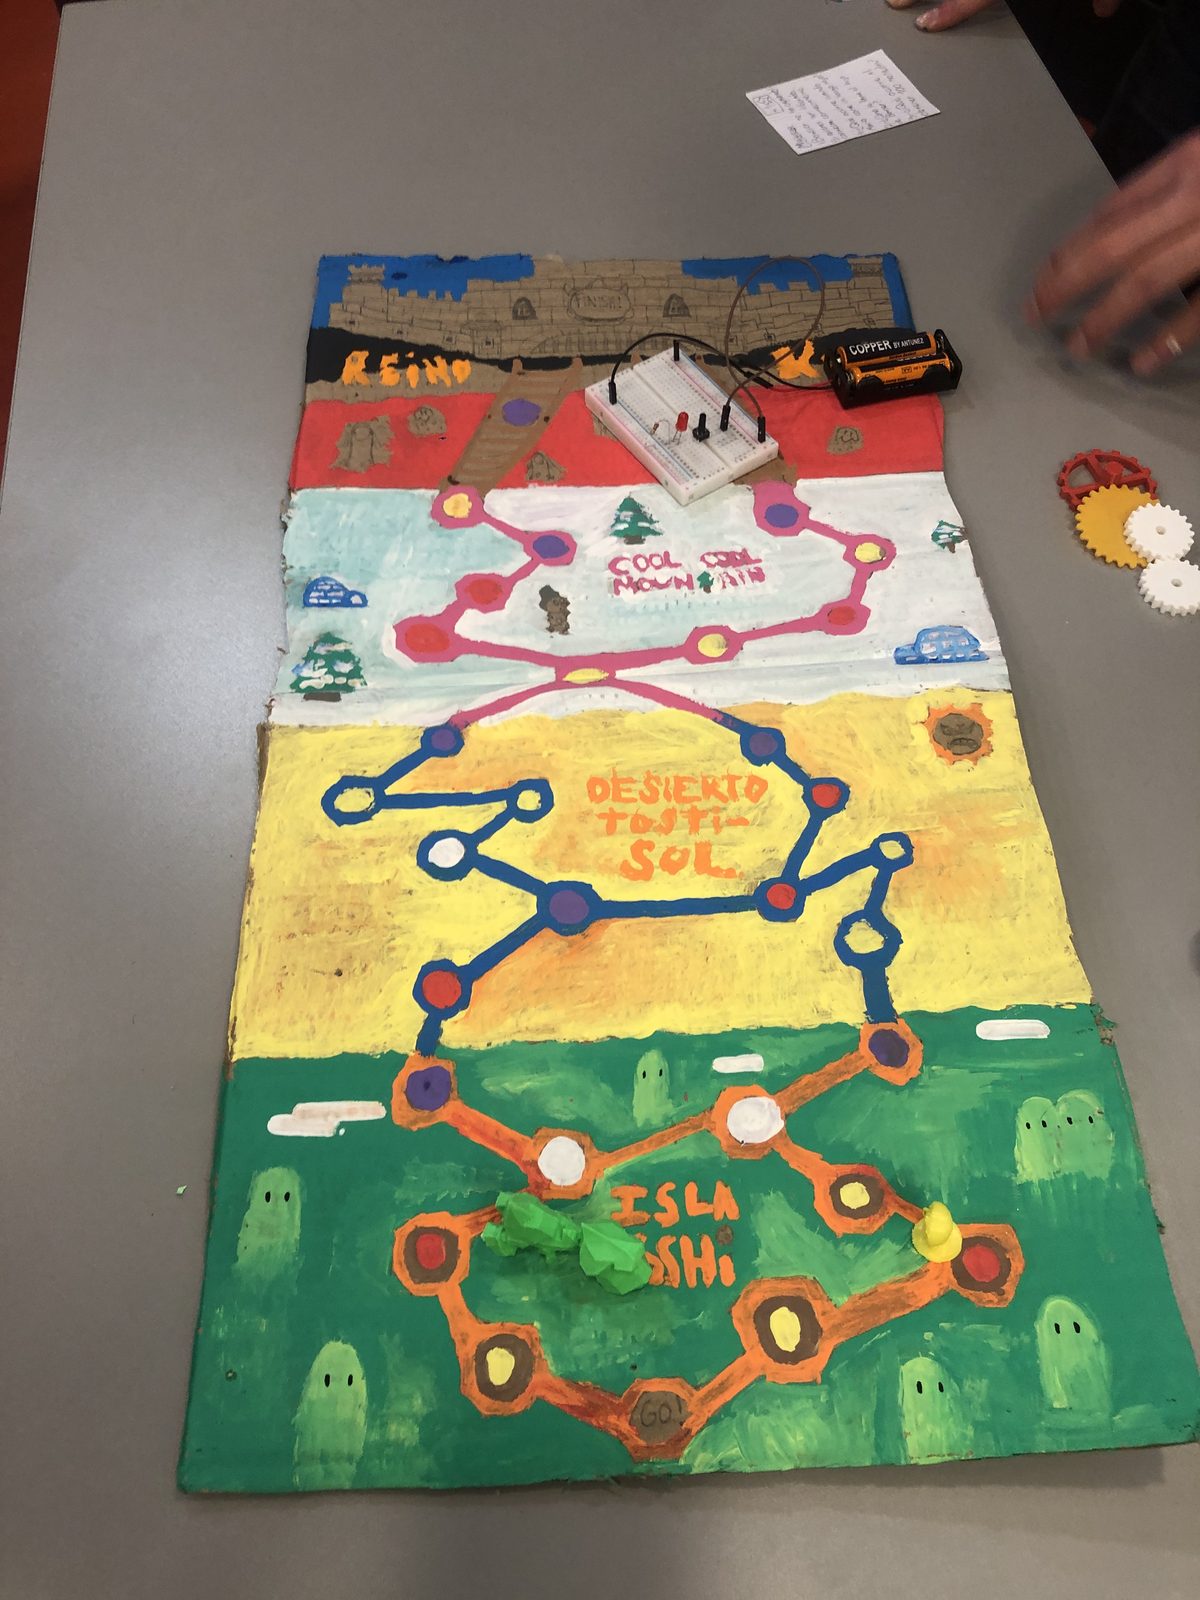
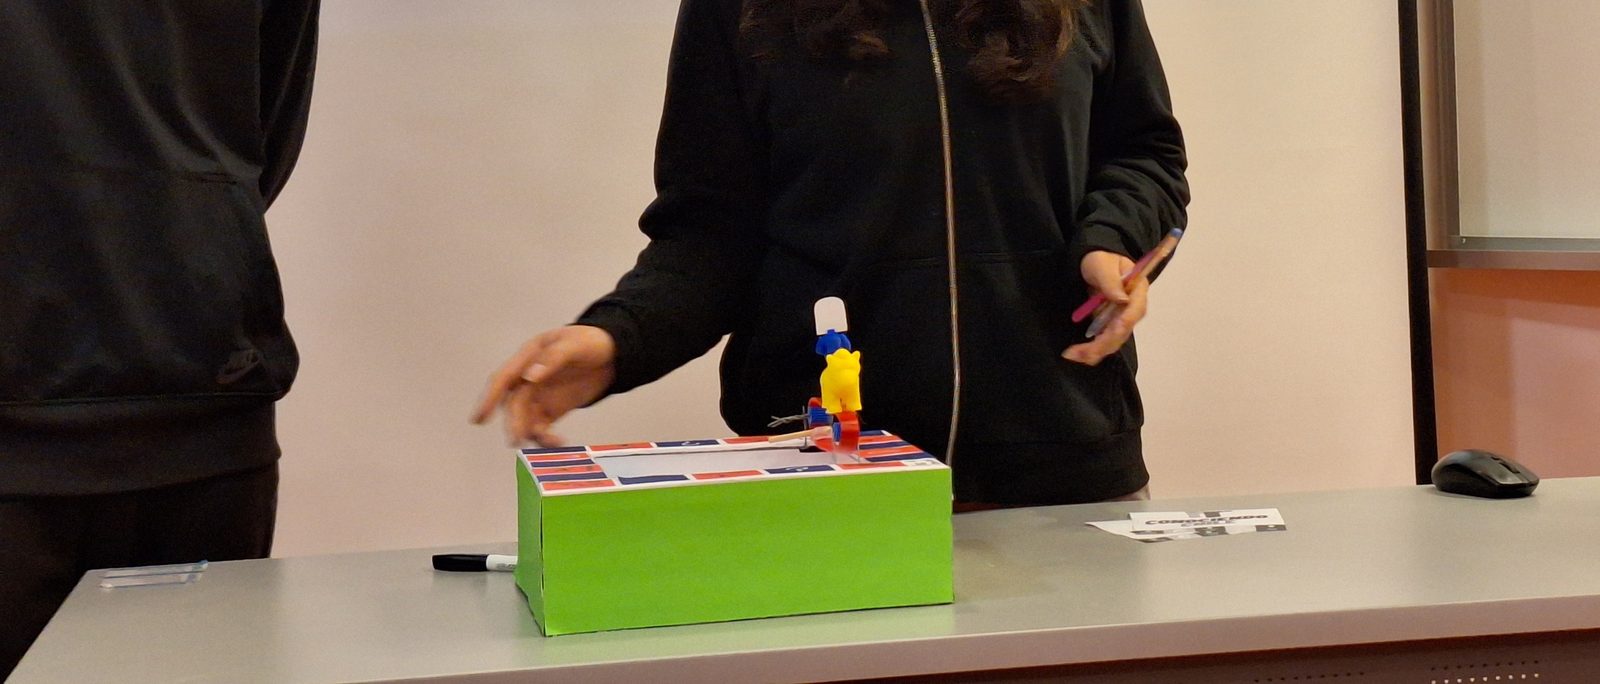
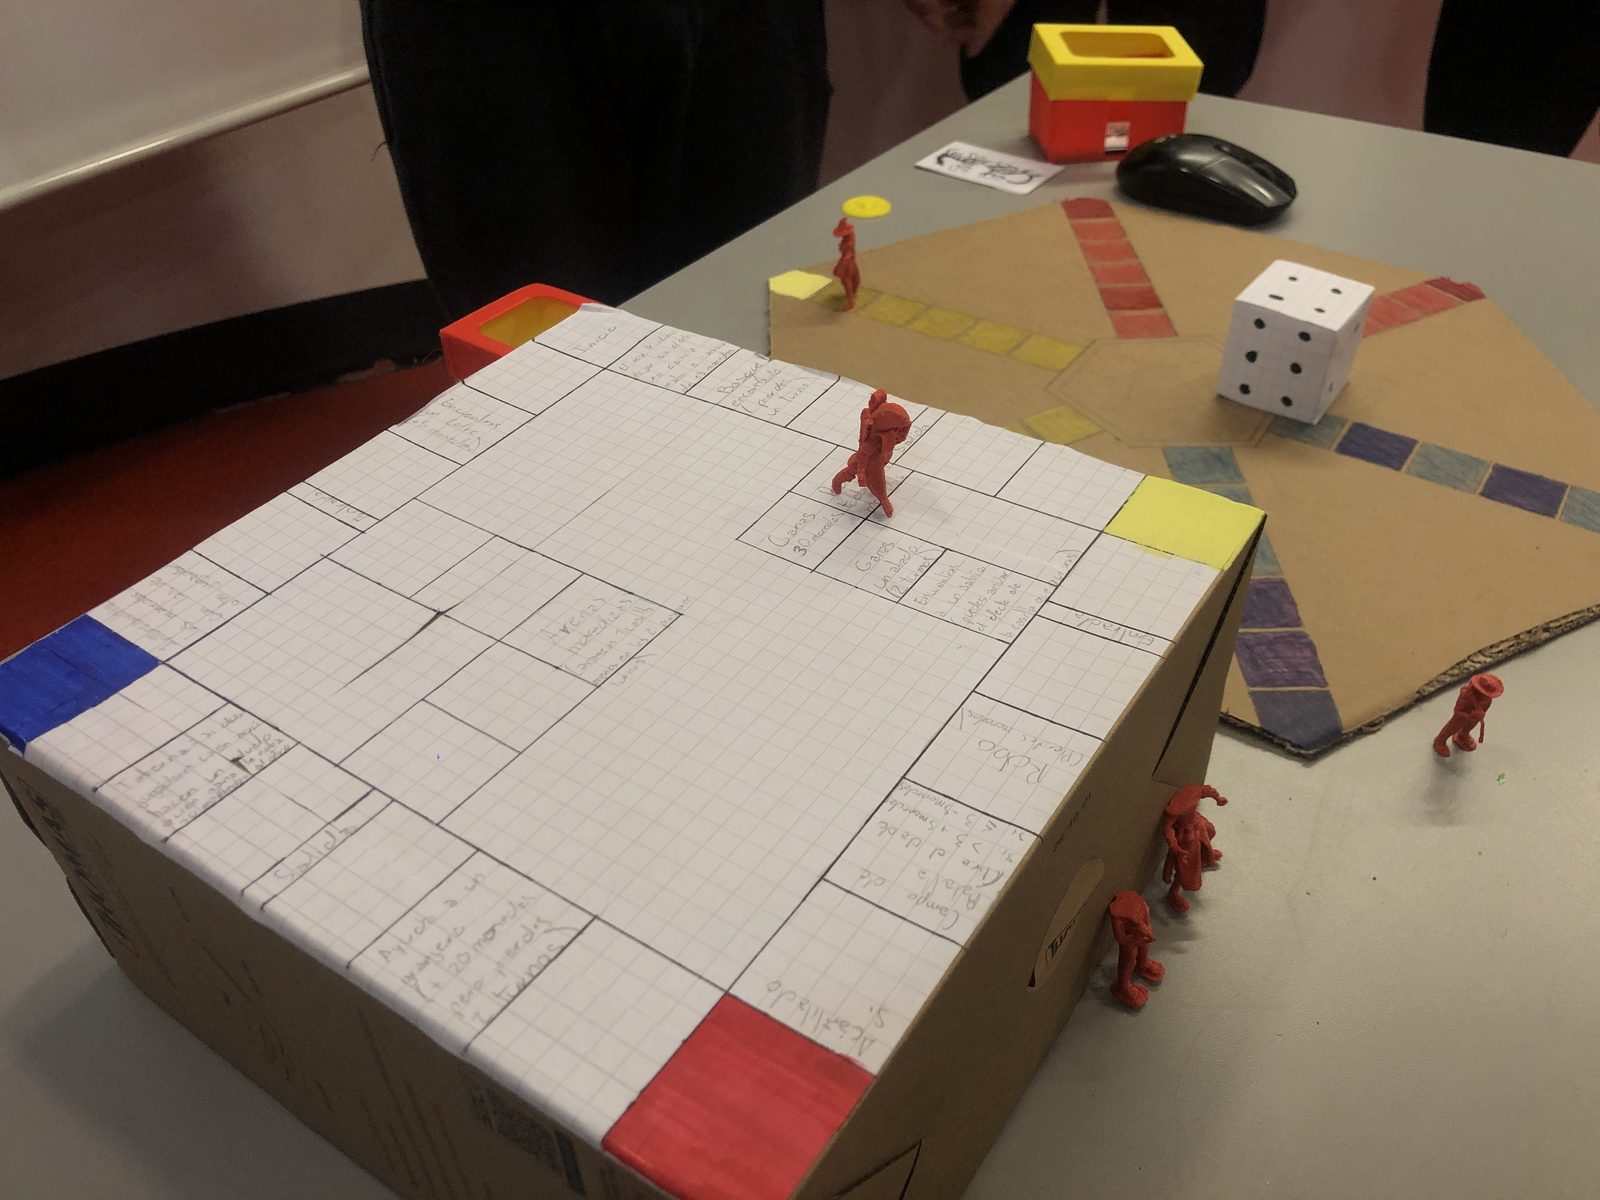
The second half changes register: it is no longer about the mechanism working, but about it serving someone. Each team built a user profile, defined a need and turned their mechanism into a game experience designed for that person.
Being 11th and 12th grade, this is the most technically demanding of all my courses: complex gears modeled from scratch, transmission systems that combine several stages, and prototypes that have to stand up to repeated use by whoever plays.
Original course
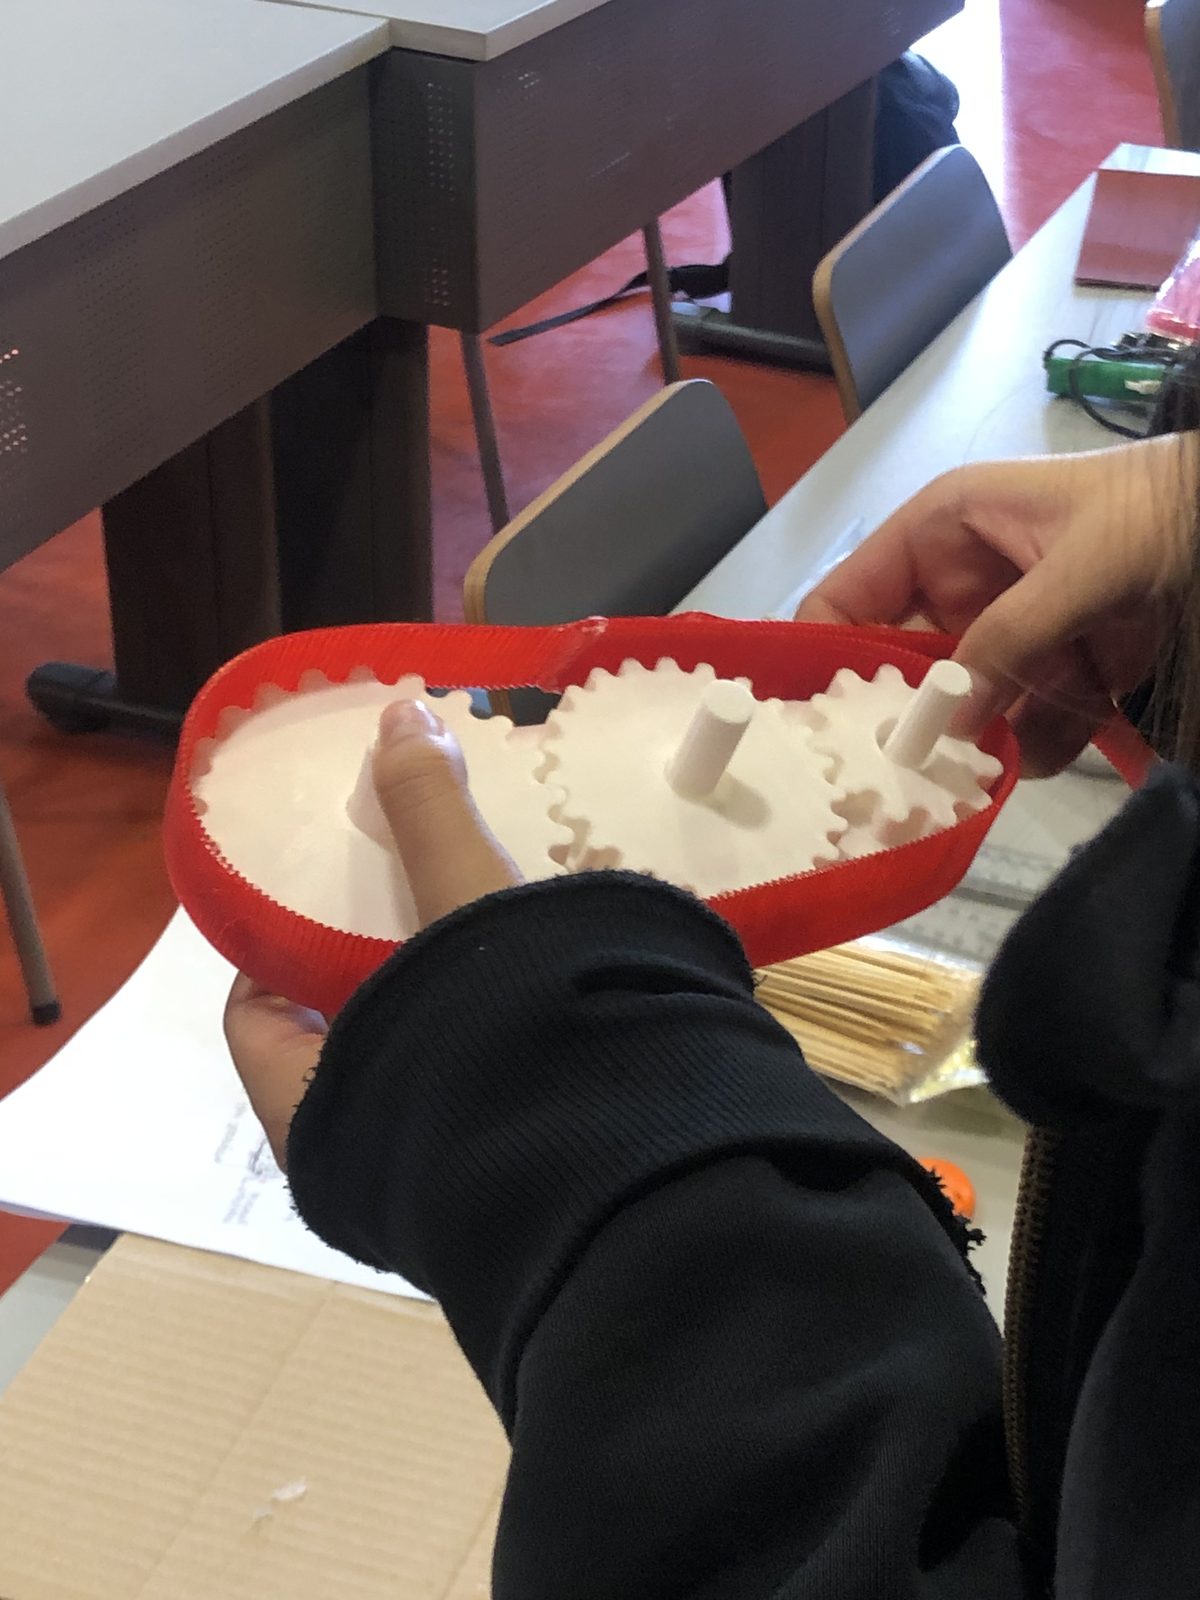
I designed the entire course, including the technical progression that goes from a basic mechanism to a transmission system modeled and printed by the students themselves.
Syllabus
- 01Introduction and team formationRules, program and planning for the semester's work.
- 02Basic electronics and leversFirst circuits and the simplest of mechanisms.
- 03Tinkercad and pulleys3D modeling applied to belt drive systems.
- 04GearsGear ratios, module and number of teeth.
- 053D printing and game creationBuilding the mechanisms and starting to think of them as a game.
- 06Midterm assessmentEach team presents the mechanism it will bring to the final project.
- 07Stages of the final projectThe design methodology applied to the work ahead.
- 08Define the user and the problemWhat need the game meets and who it is designed for.
- 09Ideate and prototypeFirst playable versions of the project.
- 10Progress and feedbackPresentation to the class and peer critique.
- 11Improve and finishLast mechanical and gameplay adjustments.
- 12Learning fairPresenting the final project for assessment.
Gallery