A course for PENTA UC
Maker Robots in Action
Build your first explorer robot
The course where the educational robot was born: an explorer built from scratch, programmed in Arduino and controlled over Wi-Fi, with parts 3D printed by the students themselves.
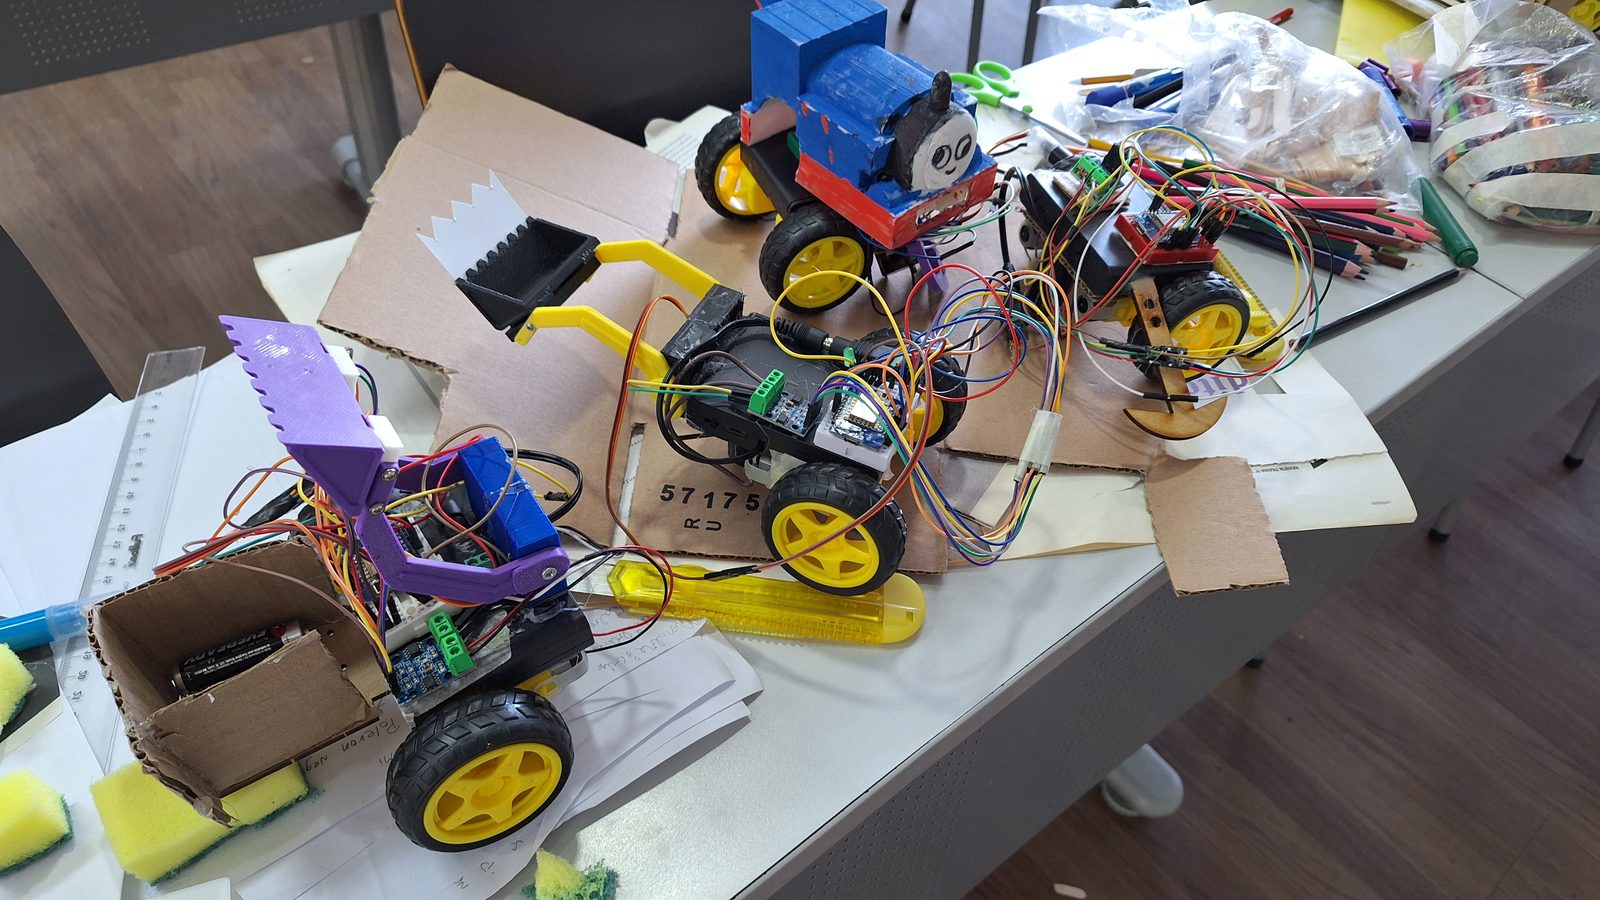
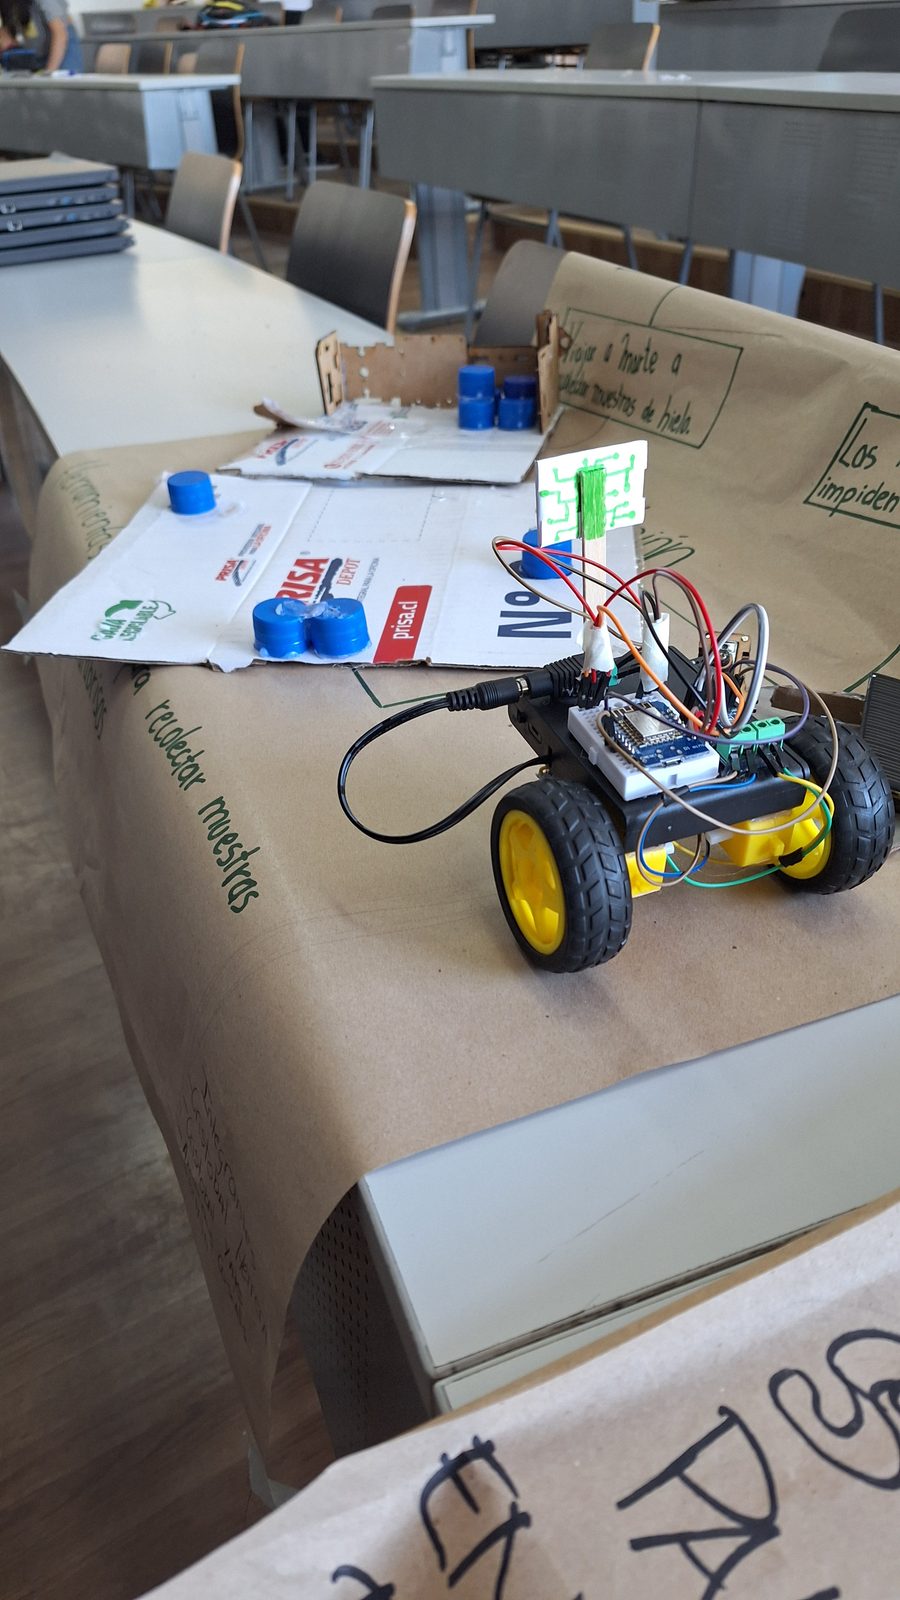
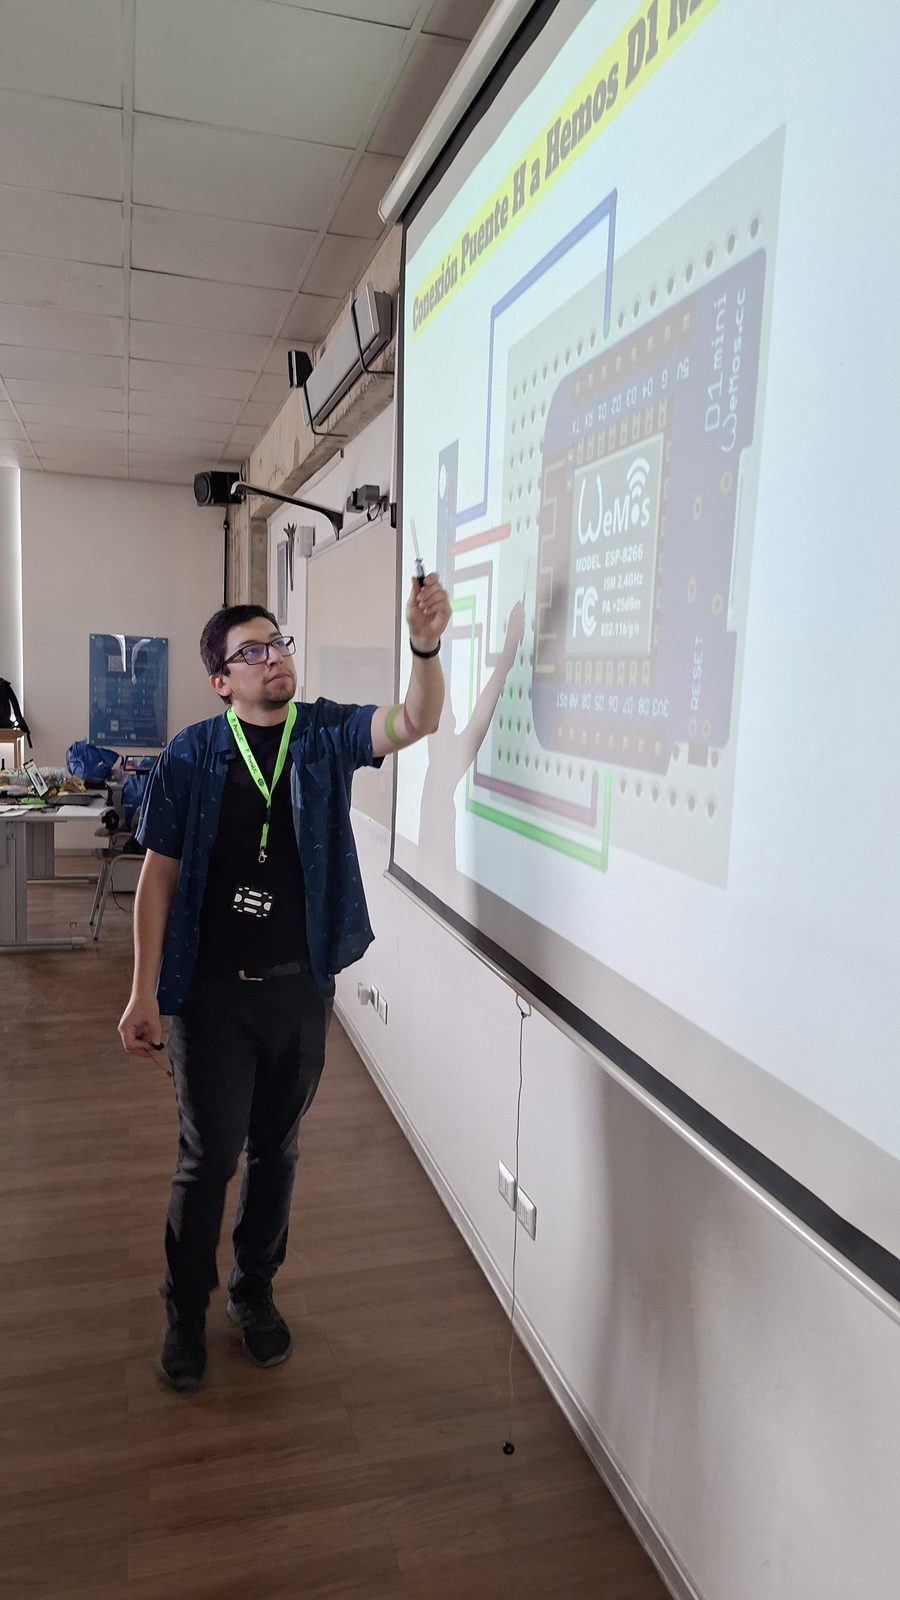
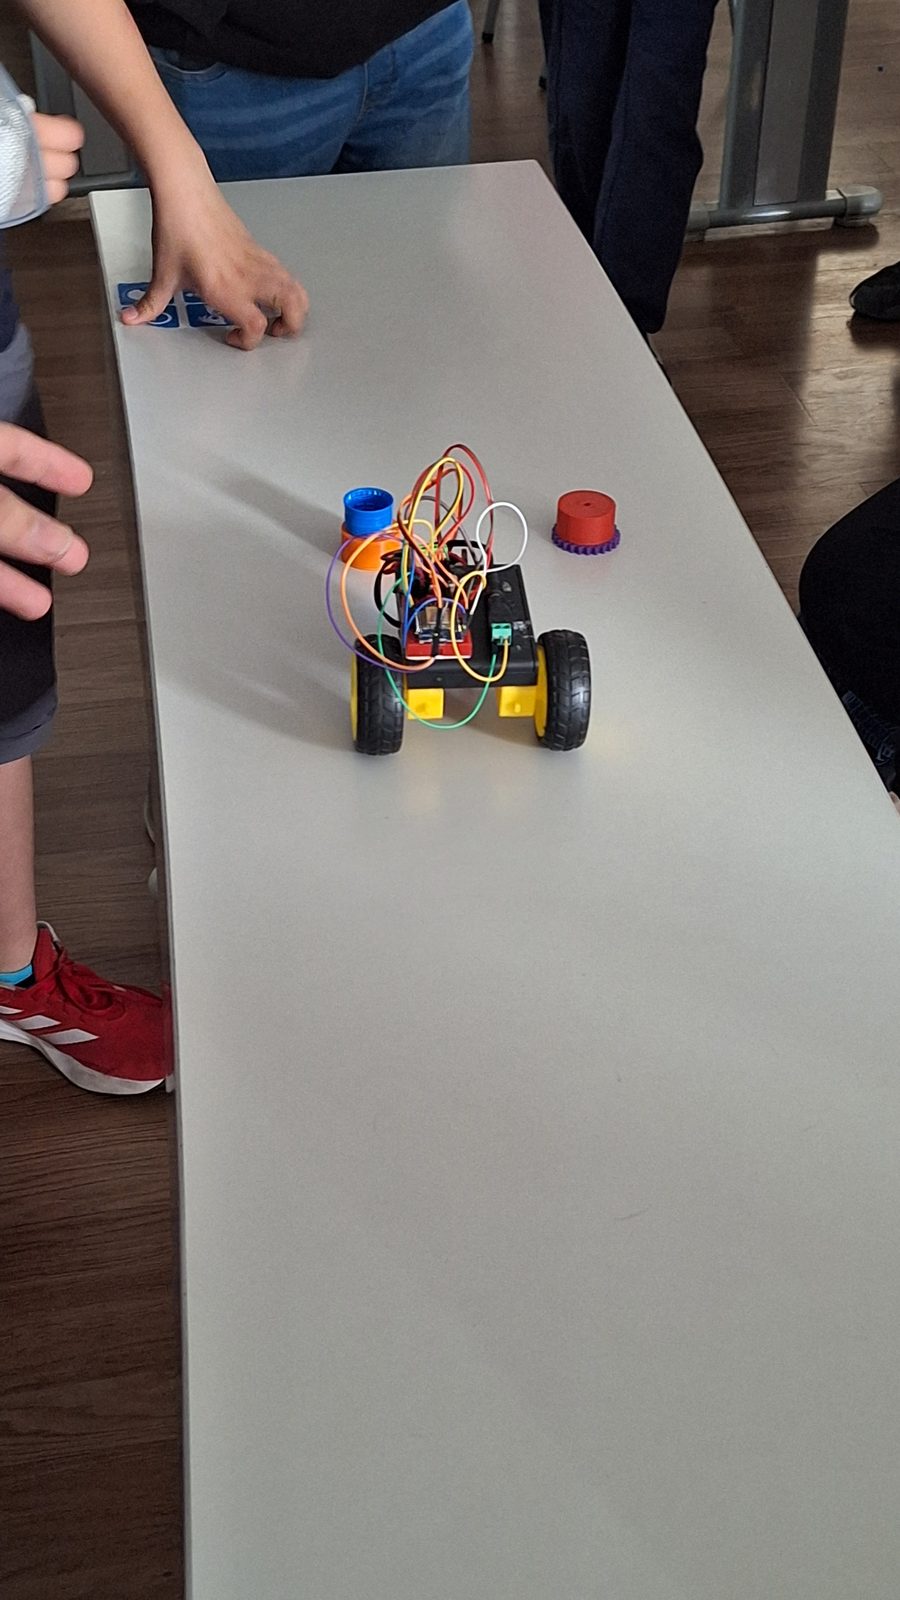
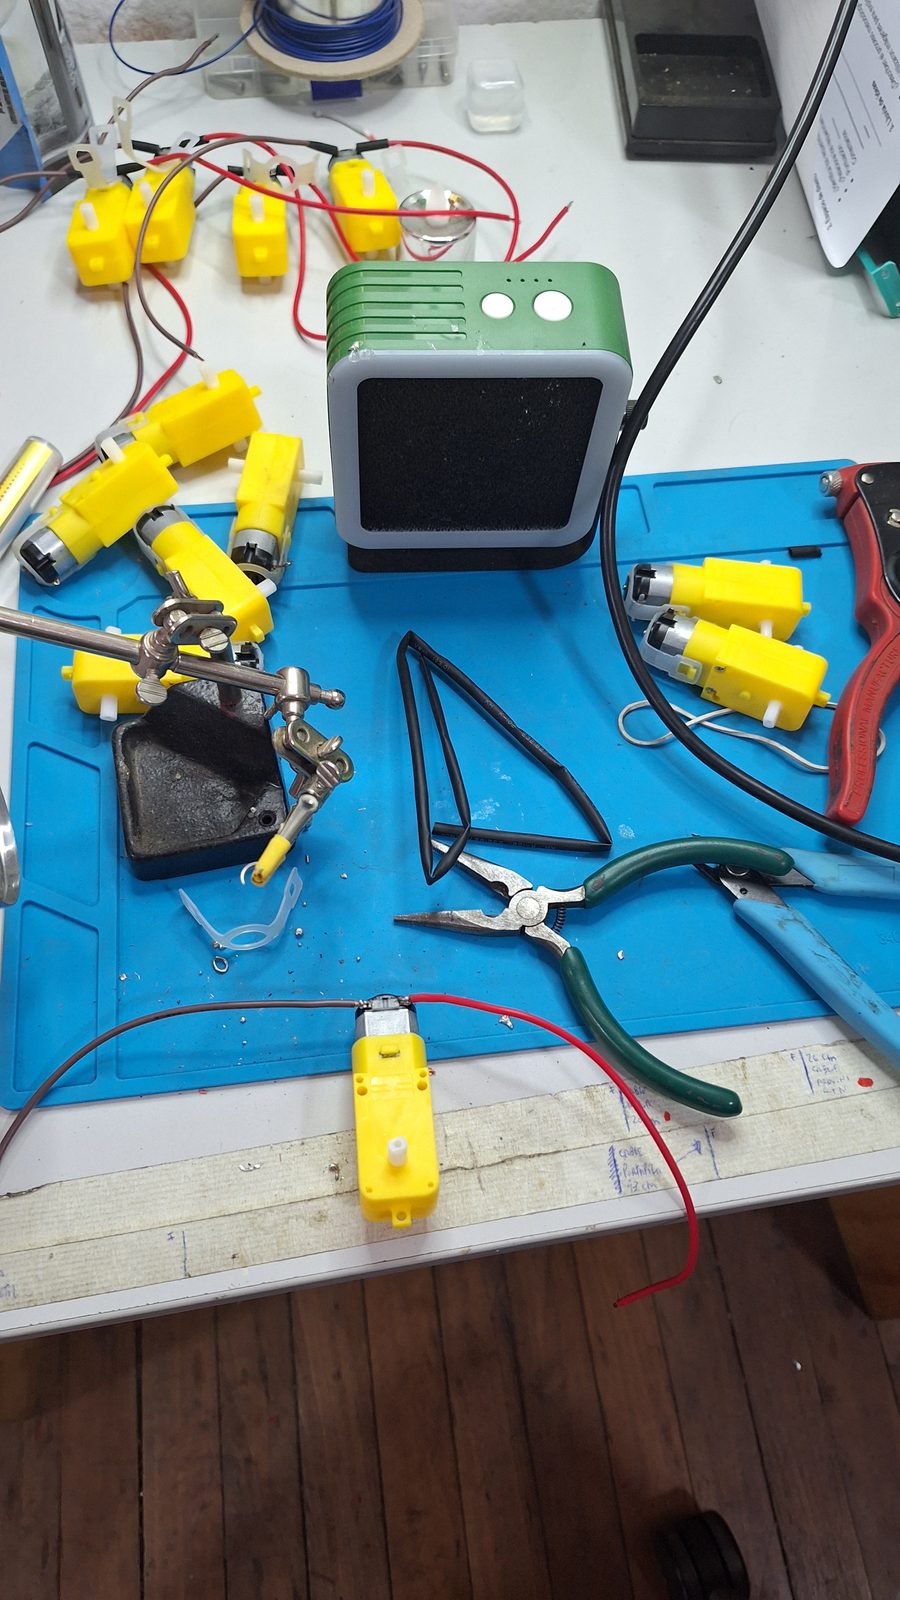
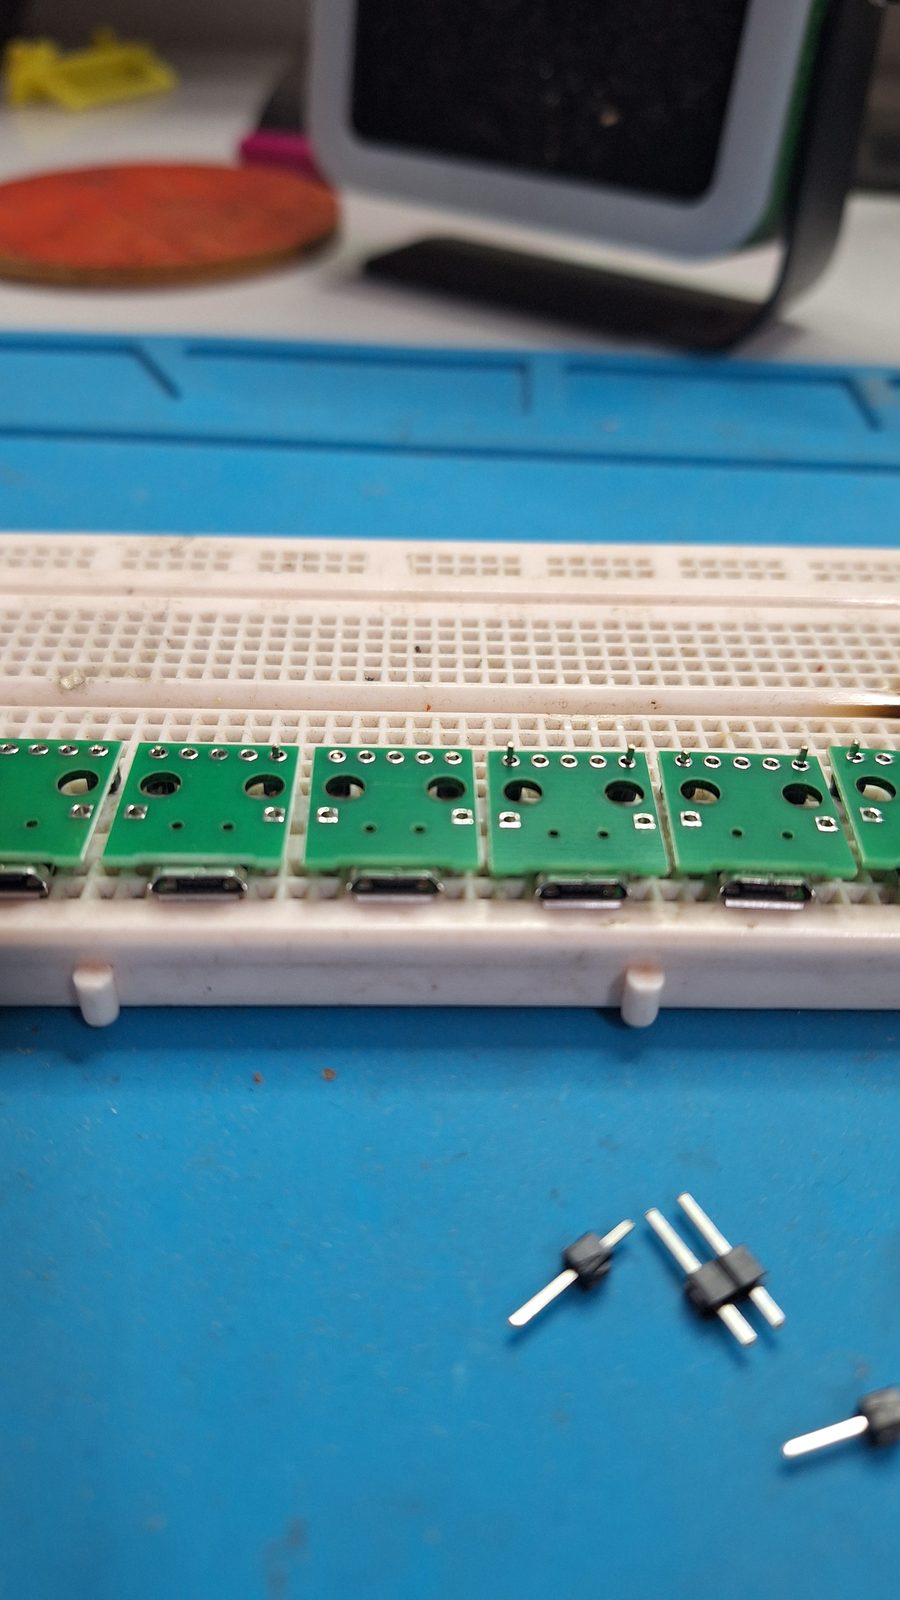
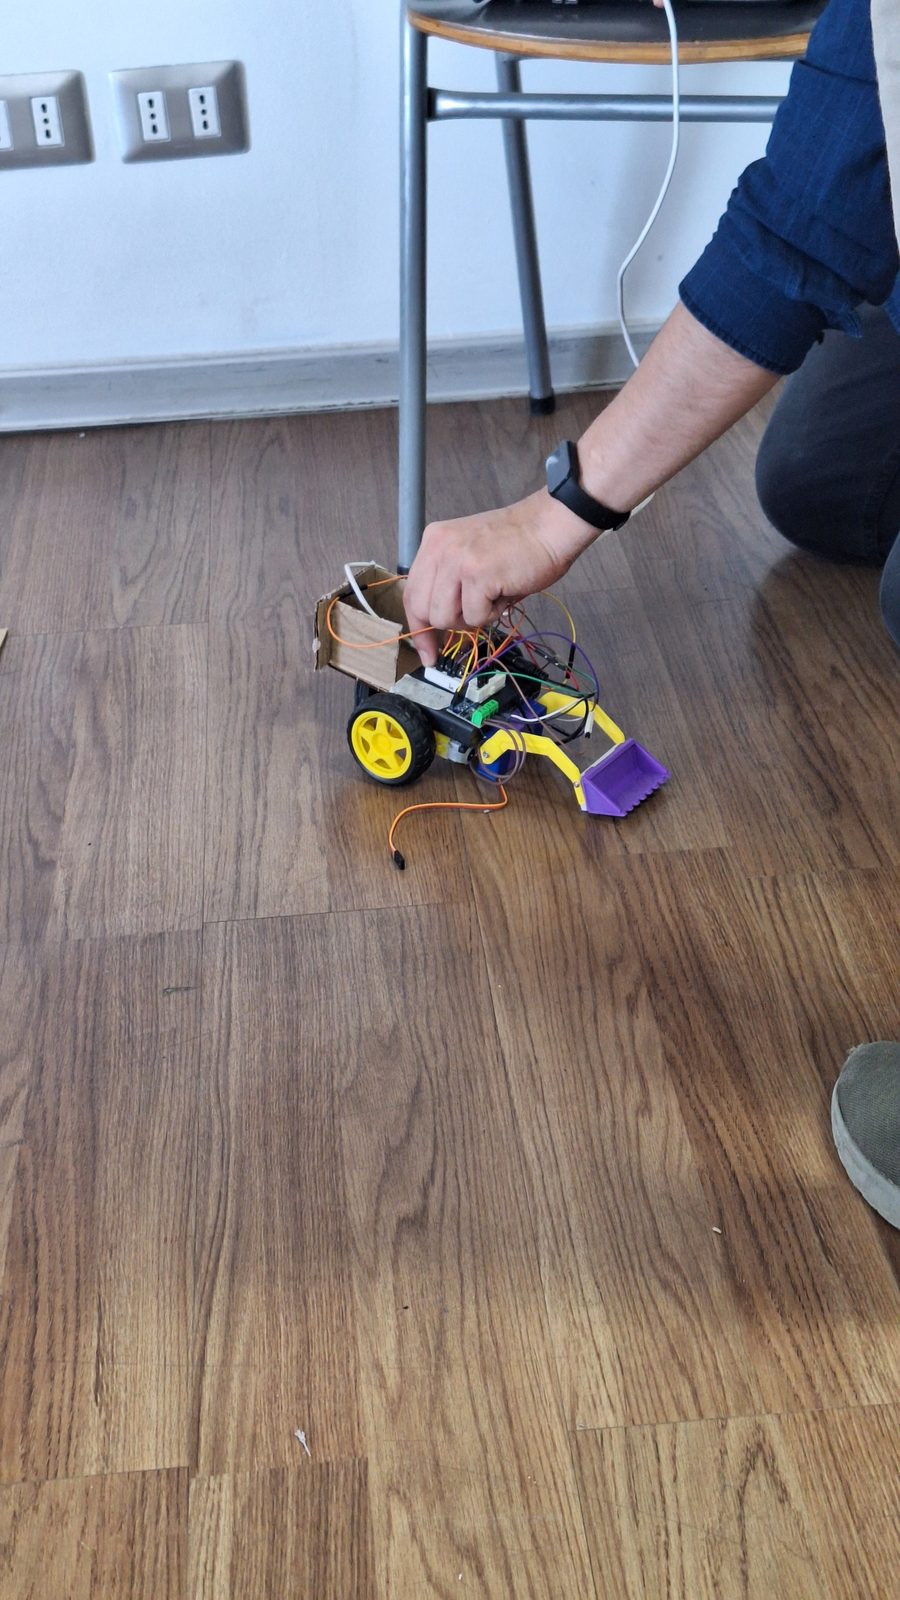
This is the course that changed the next three. To teach robotics without depending on expensive, closed commercial kits, Elvis Andrade and I designed and built our own educational robot: chassis, electronics, an H-bridge for motor control and firmware with Wi-Fi control from the browser.
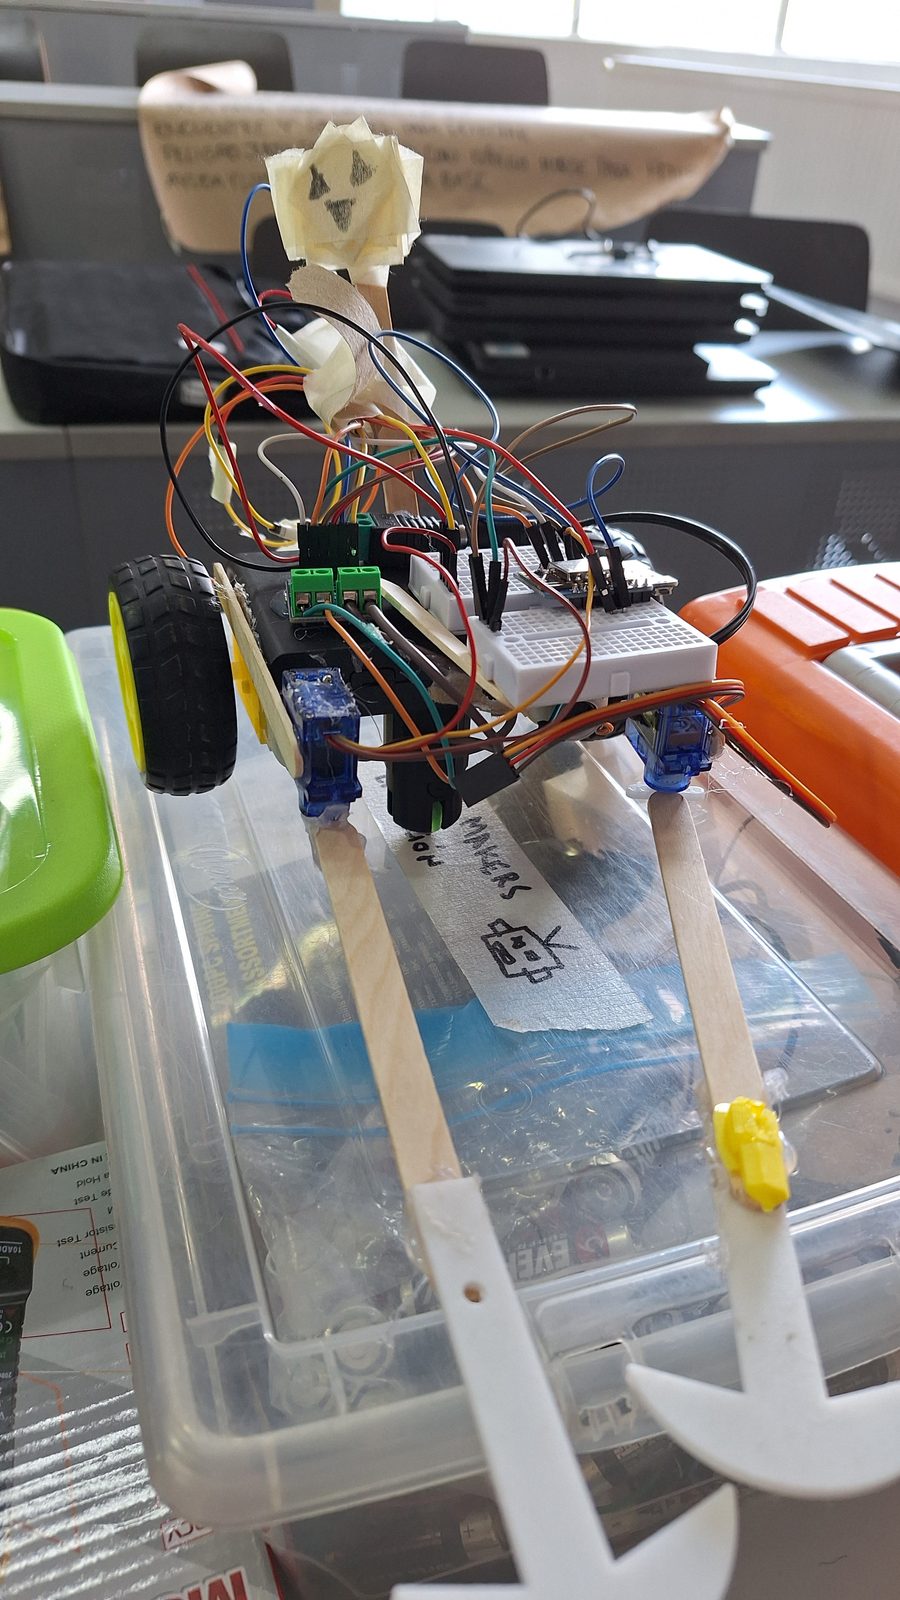
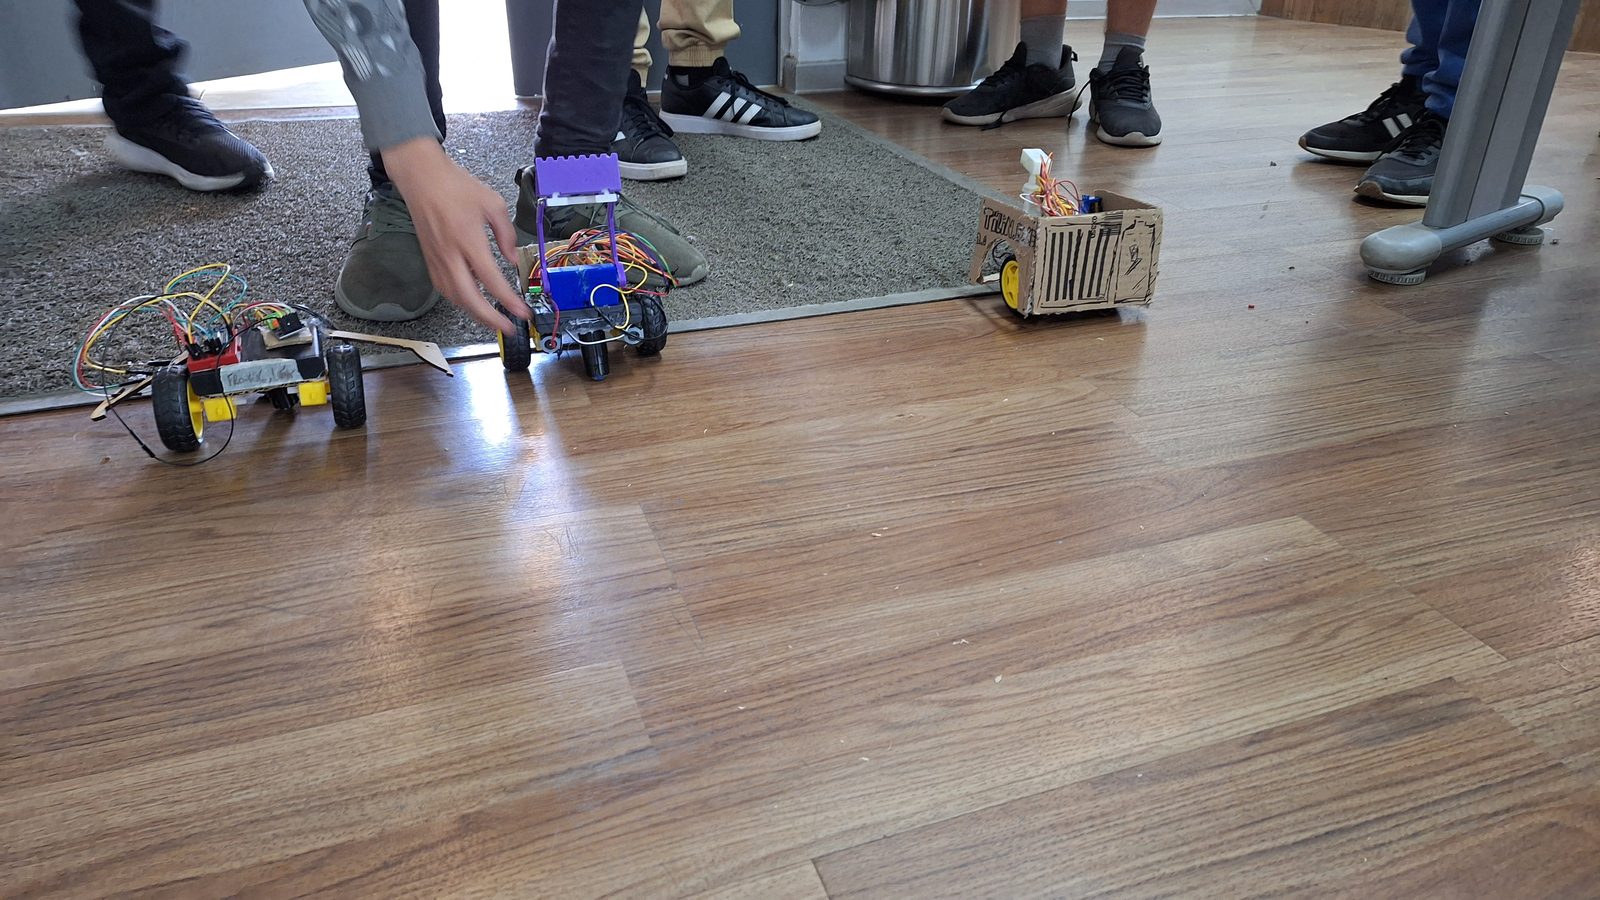
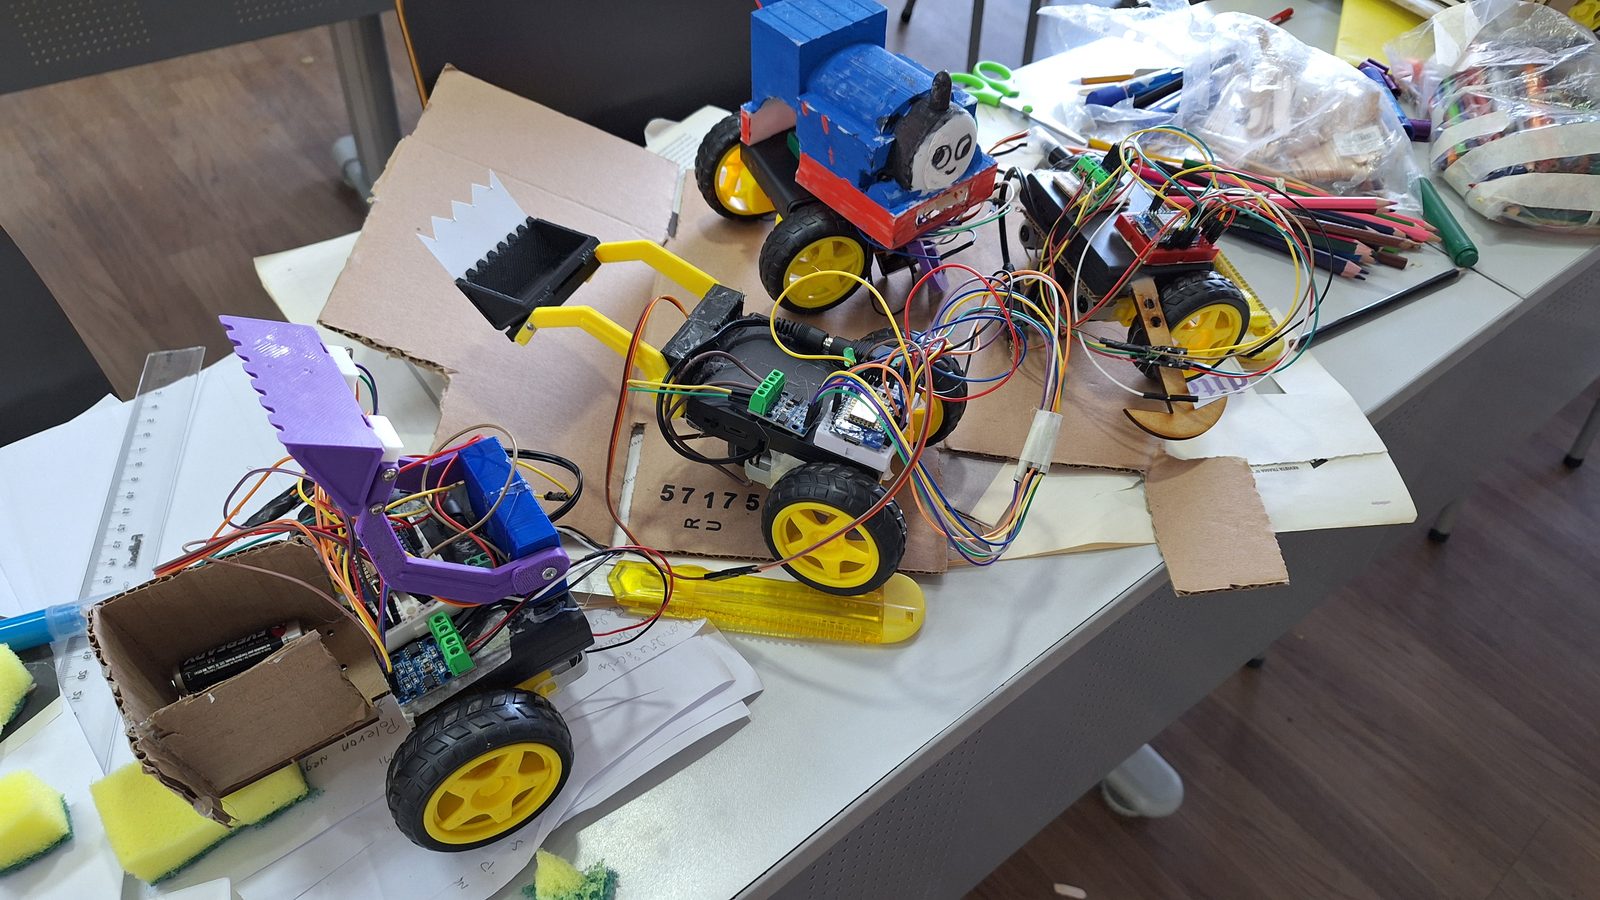
On that foundation, students do not assemble a kit by following instructions: they build their robot from scratch, program it in the Arduino IDE and design in Tinkercad the parts they need (arms, grippers, mounts) so their explorer can solve the mission they defined themselves.
The first half of the semester keeps the structure of possible futures and everyday problems; the second turns entirely to the robot, programming and prototyping, up to the final learning fair that brings together every course in the program.
Original course
Proposal, syllabus, methodology and materials designed by me.
Educational robot developed for this course
Together with Elvis Andrade we created our own educational robot to teach this course: frame, electronics, Wi-Fi control and printable parts. The same robot later became the base of Space Mission and Space Robot.
Syllabus
- 01Introduction and team formationProgram, rules and semester planning.
- 02Possible futures for humanitySpeculative design as a starting point.
- 03Everyday problems of the futureDefining the problem each robot will solve.
- 04Basic programming and 3D printingFirst steps in the Arduino IDE and in modeling parts.
- 053D printing principlesApplying them to the parts the prototype will carry.
- 06First robotMidterm assessment: working robot, poster and live demo.
- 07Prototype the solutionsDeveloping the proposals presented at the midterm review.
- 08Progress presentationStatus of the robot and the solution, in front of the class.
- 09Improving the proposalMechanical, electronic and programming adjustments.
- 10Peer feedbackEach team reviews the work of the others.
- 11Second round of improvementsLast corrections before the close.
- 12Preparing the exhibitionSpeech, graphics and demo.
- 13Project wrap-upPresenting the final project for assessment.
- 14Learning fairJoint showcase with every course in the program.
Gallery