A course for PENTA UC
Futuristic Technology
Designing the technology of your idea of the future with 3D printing
Imagining what life will be like in the year 2100 and building, with 3D printing and basic electronics, the technology that humanity would need to solve its everyday problems.
The course starts from a question that 7th and 8th graders find irresistible: what will life be like in the year 2100? Instead of answering it with an essay, we answered it by building. Each team defined a possible future for humanity, identified an everyday problem in that future and designed the object that would solve it.
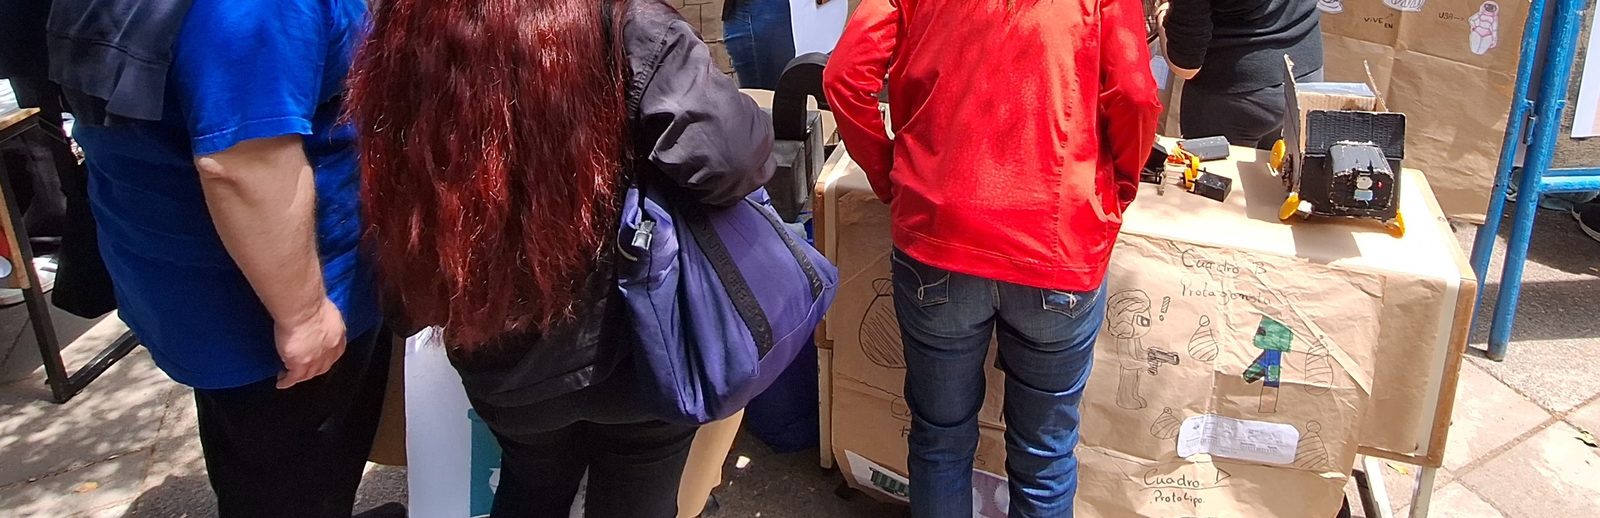
The backbone is Design Thinking in its five stages, but grounded in tools a 13-year-old can master in a semester: speculative design and science fiction references to empathize, a problem tree to define, Tinkercad and basic electronics to ideate, 3D printing and reused materials to prototype, and a learning fair open to the public to test.
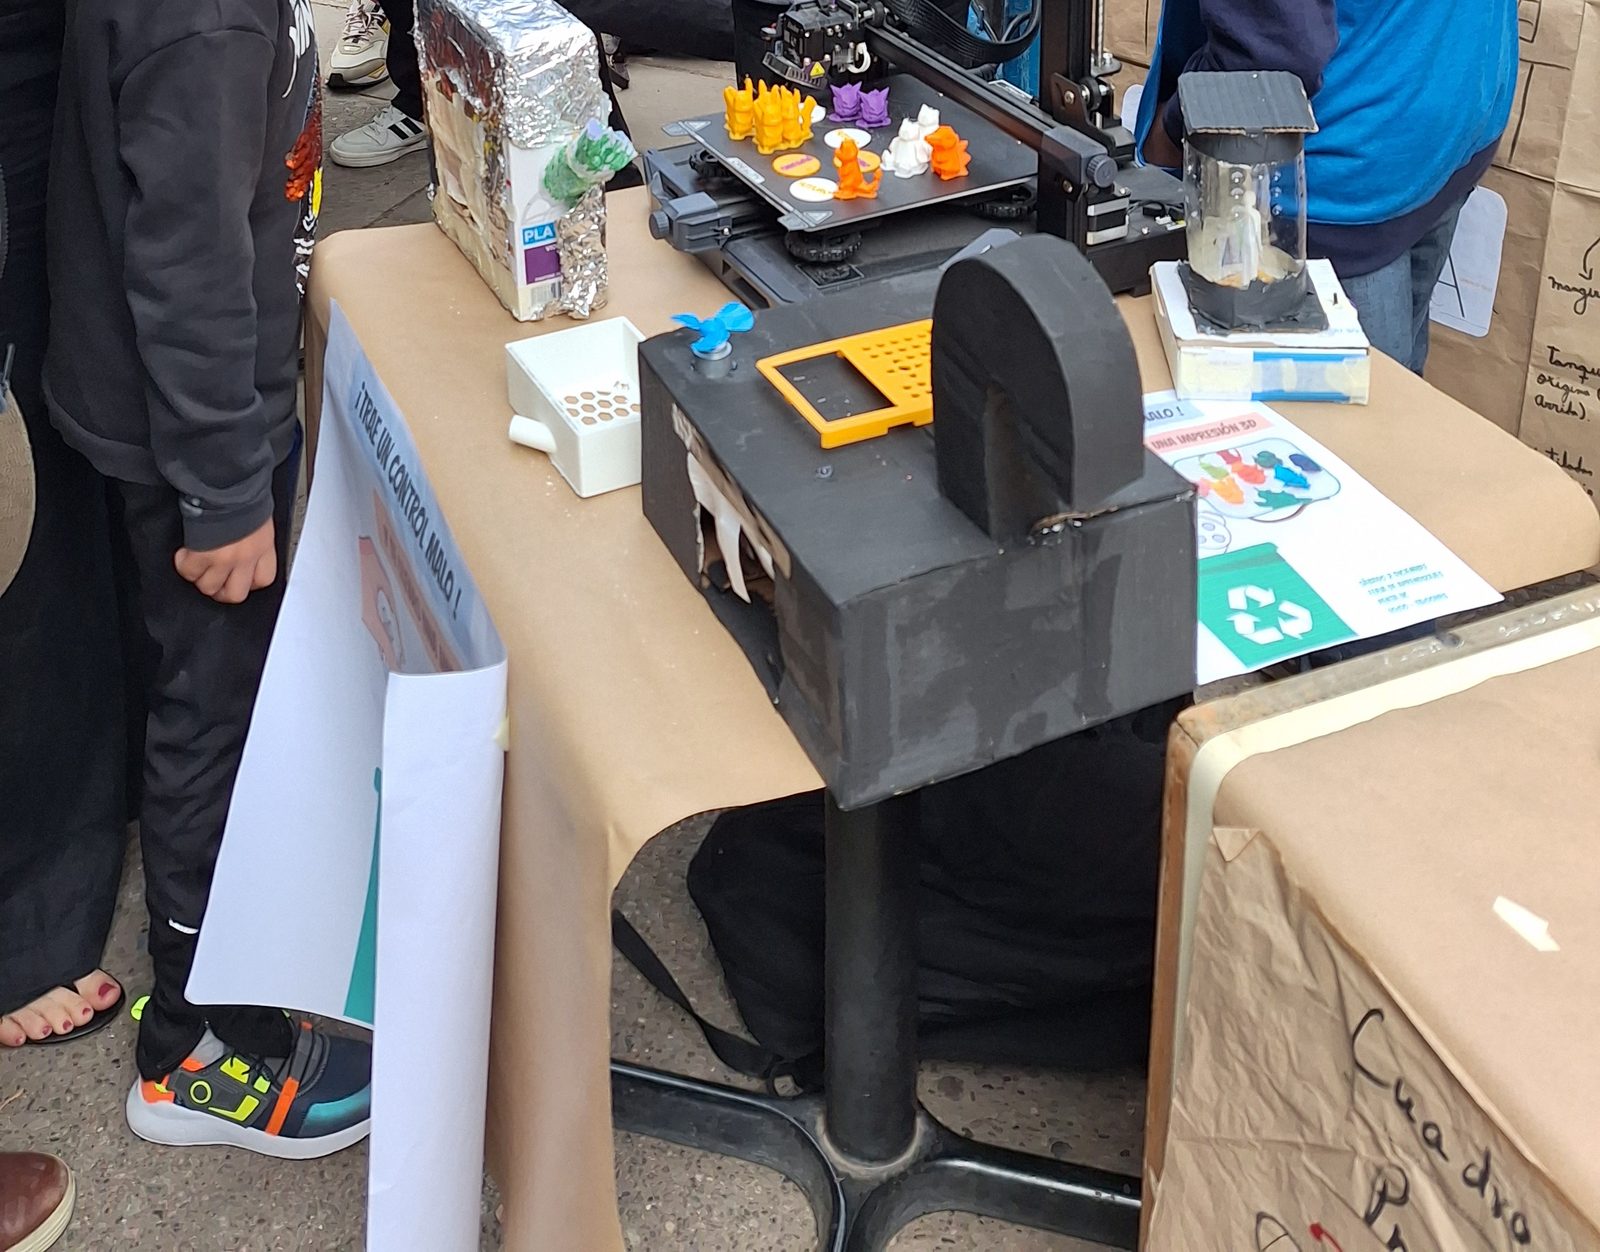
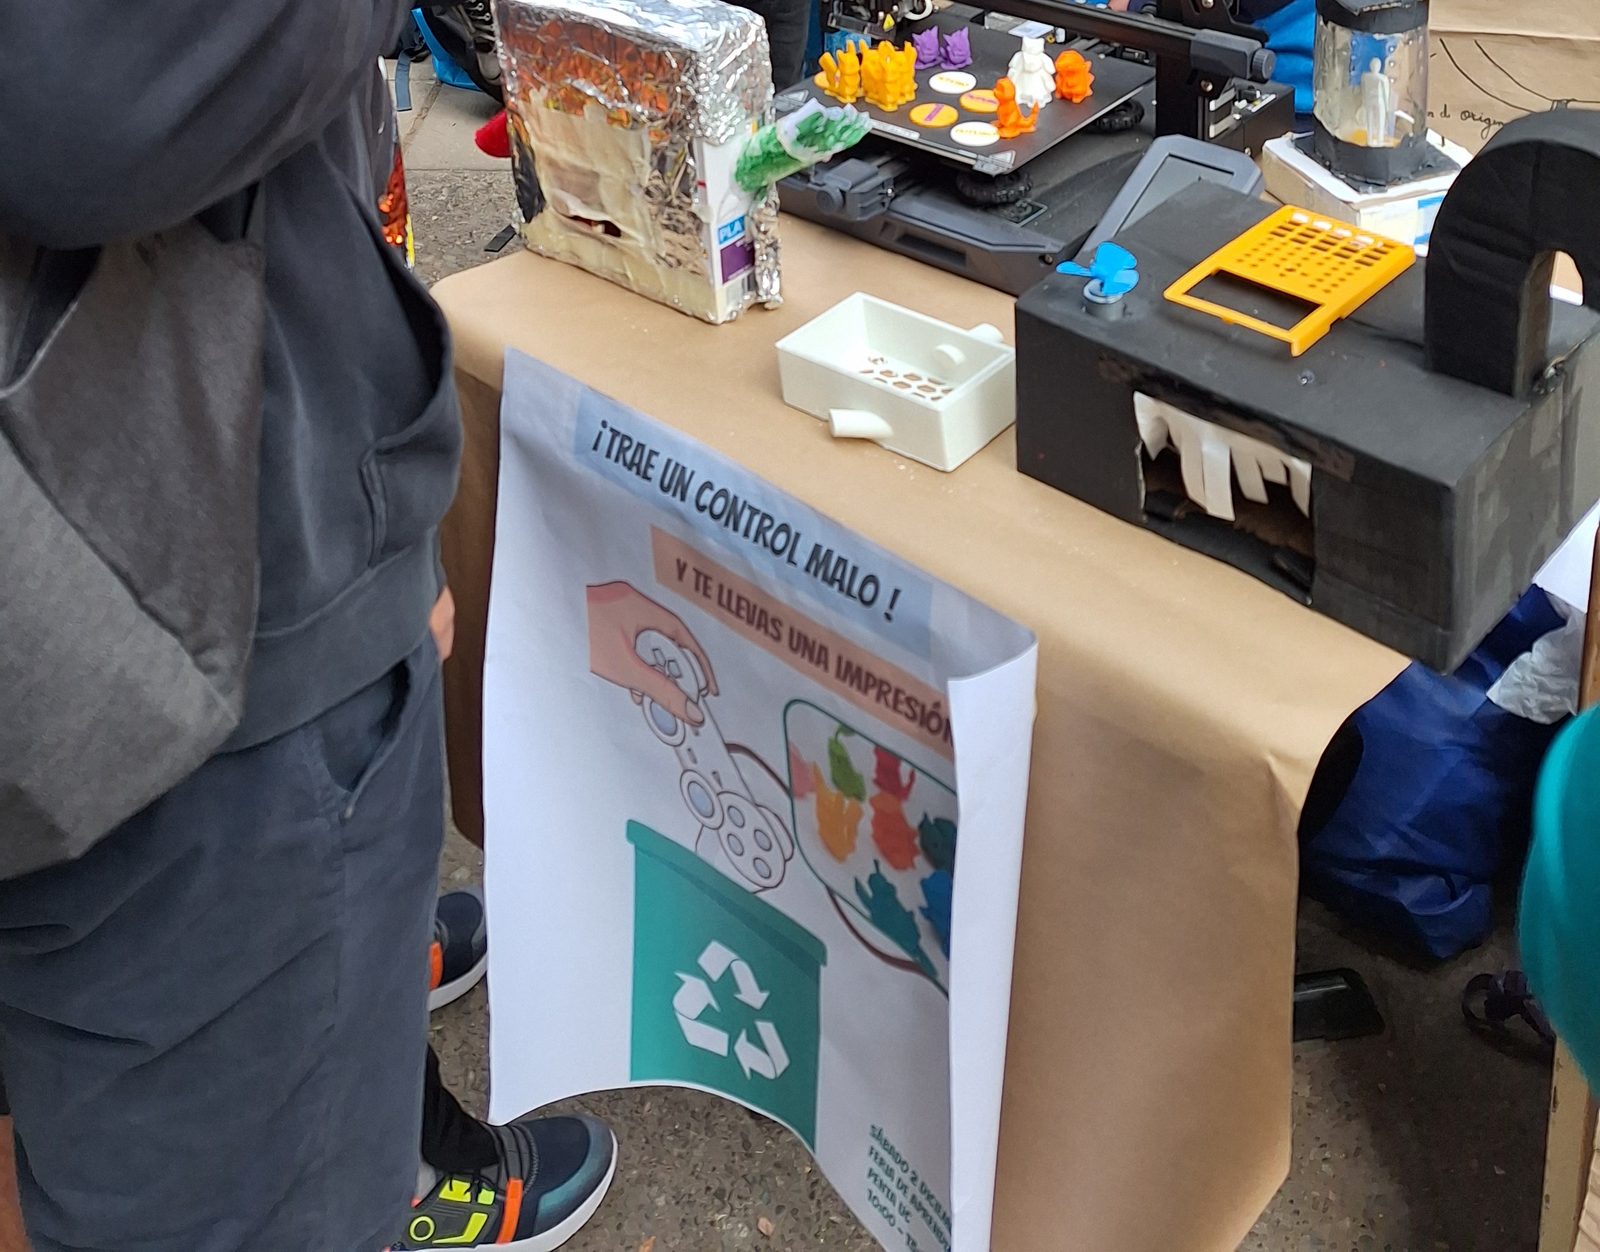
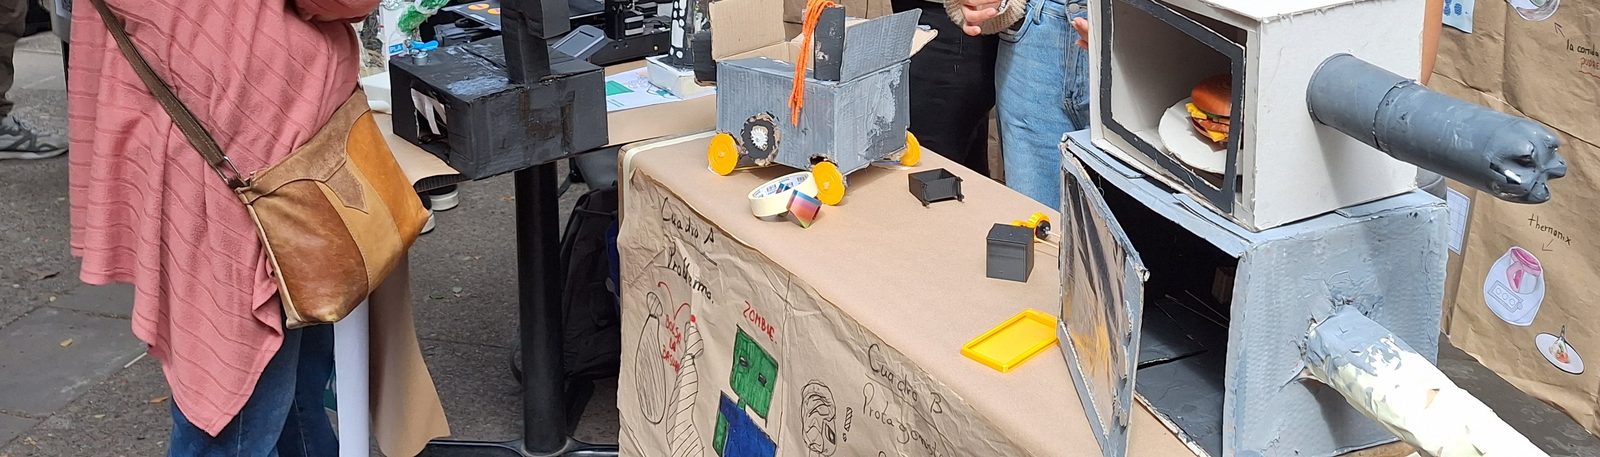
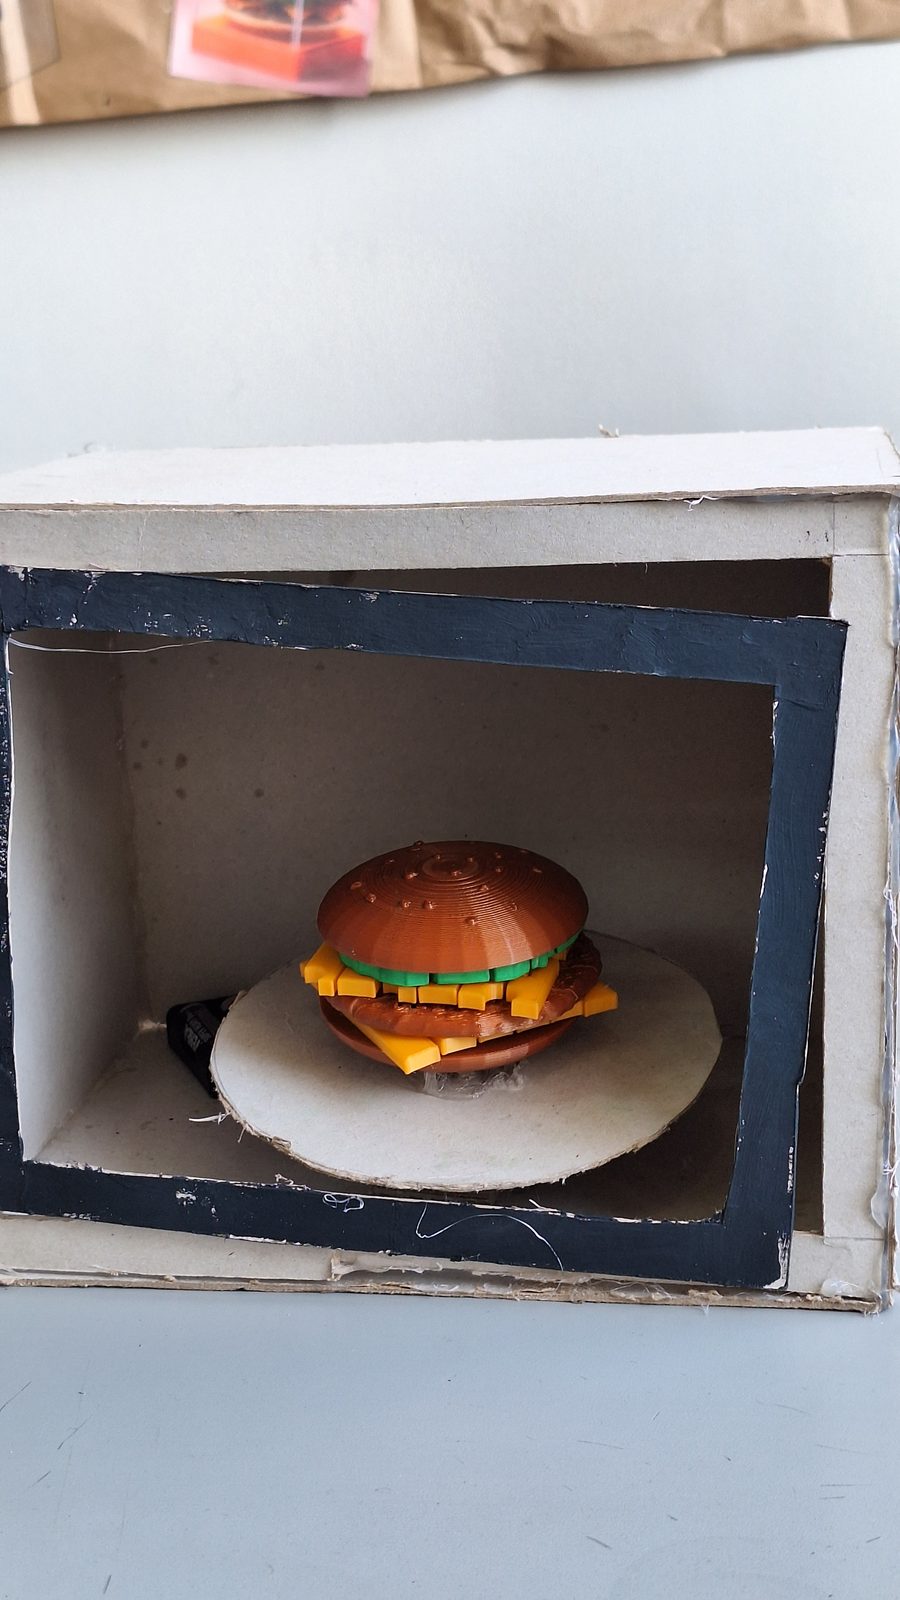
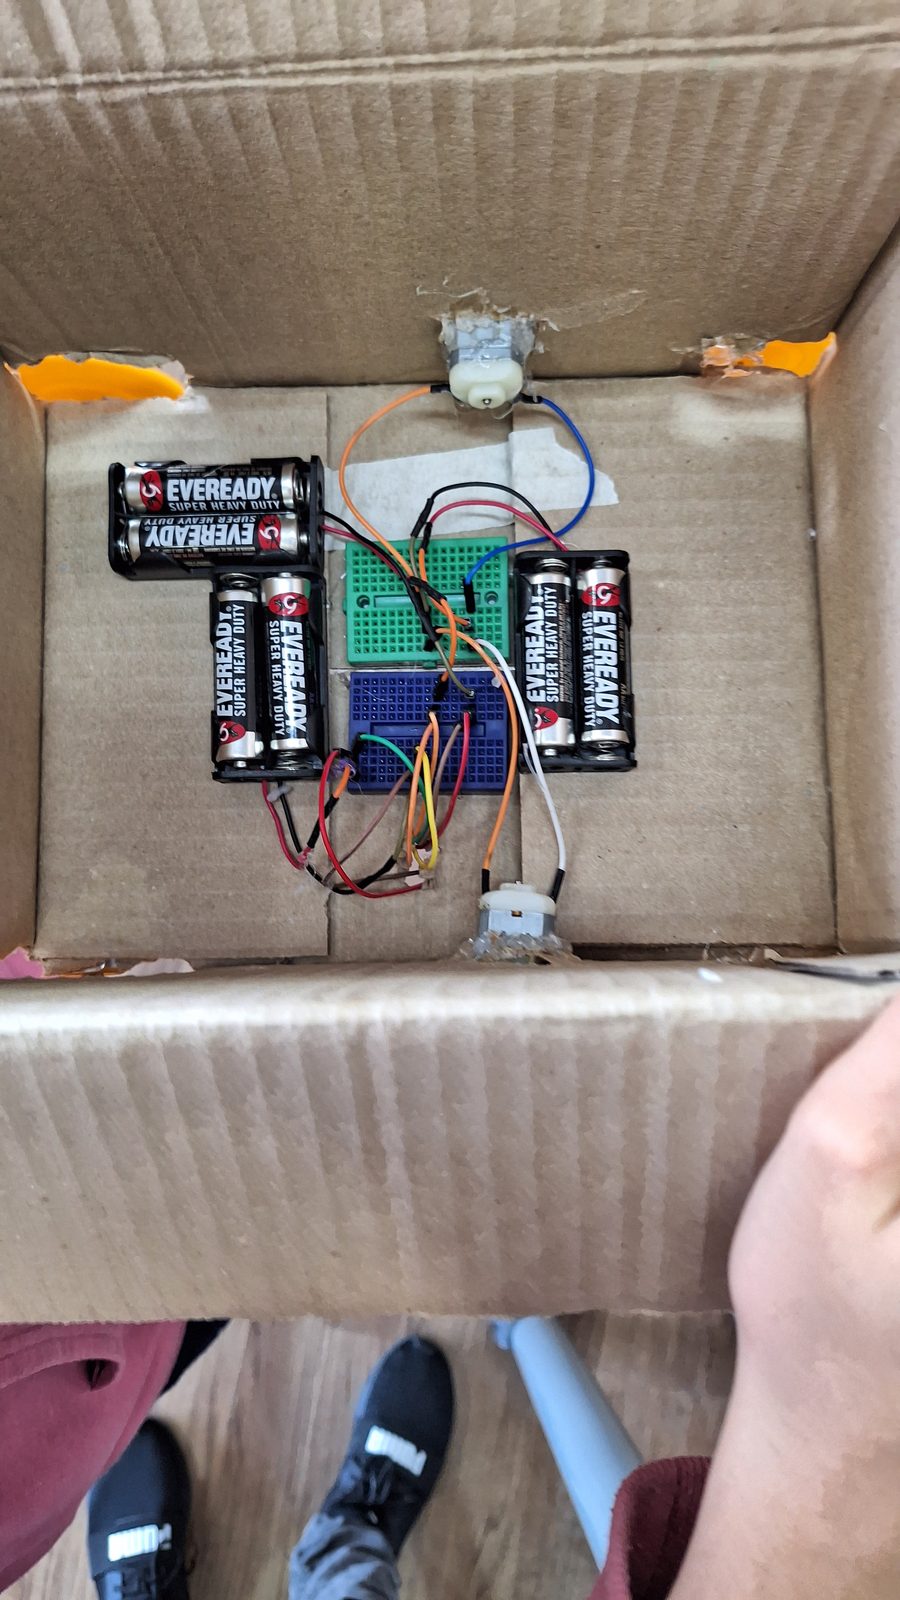
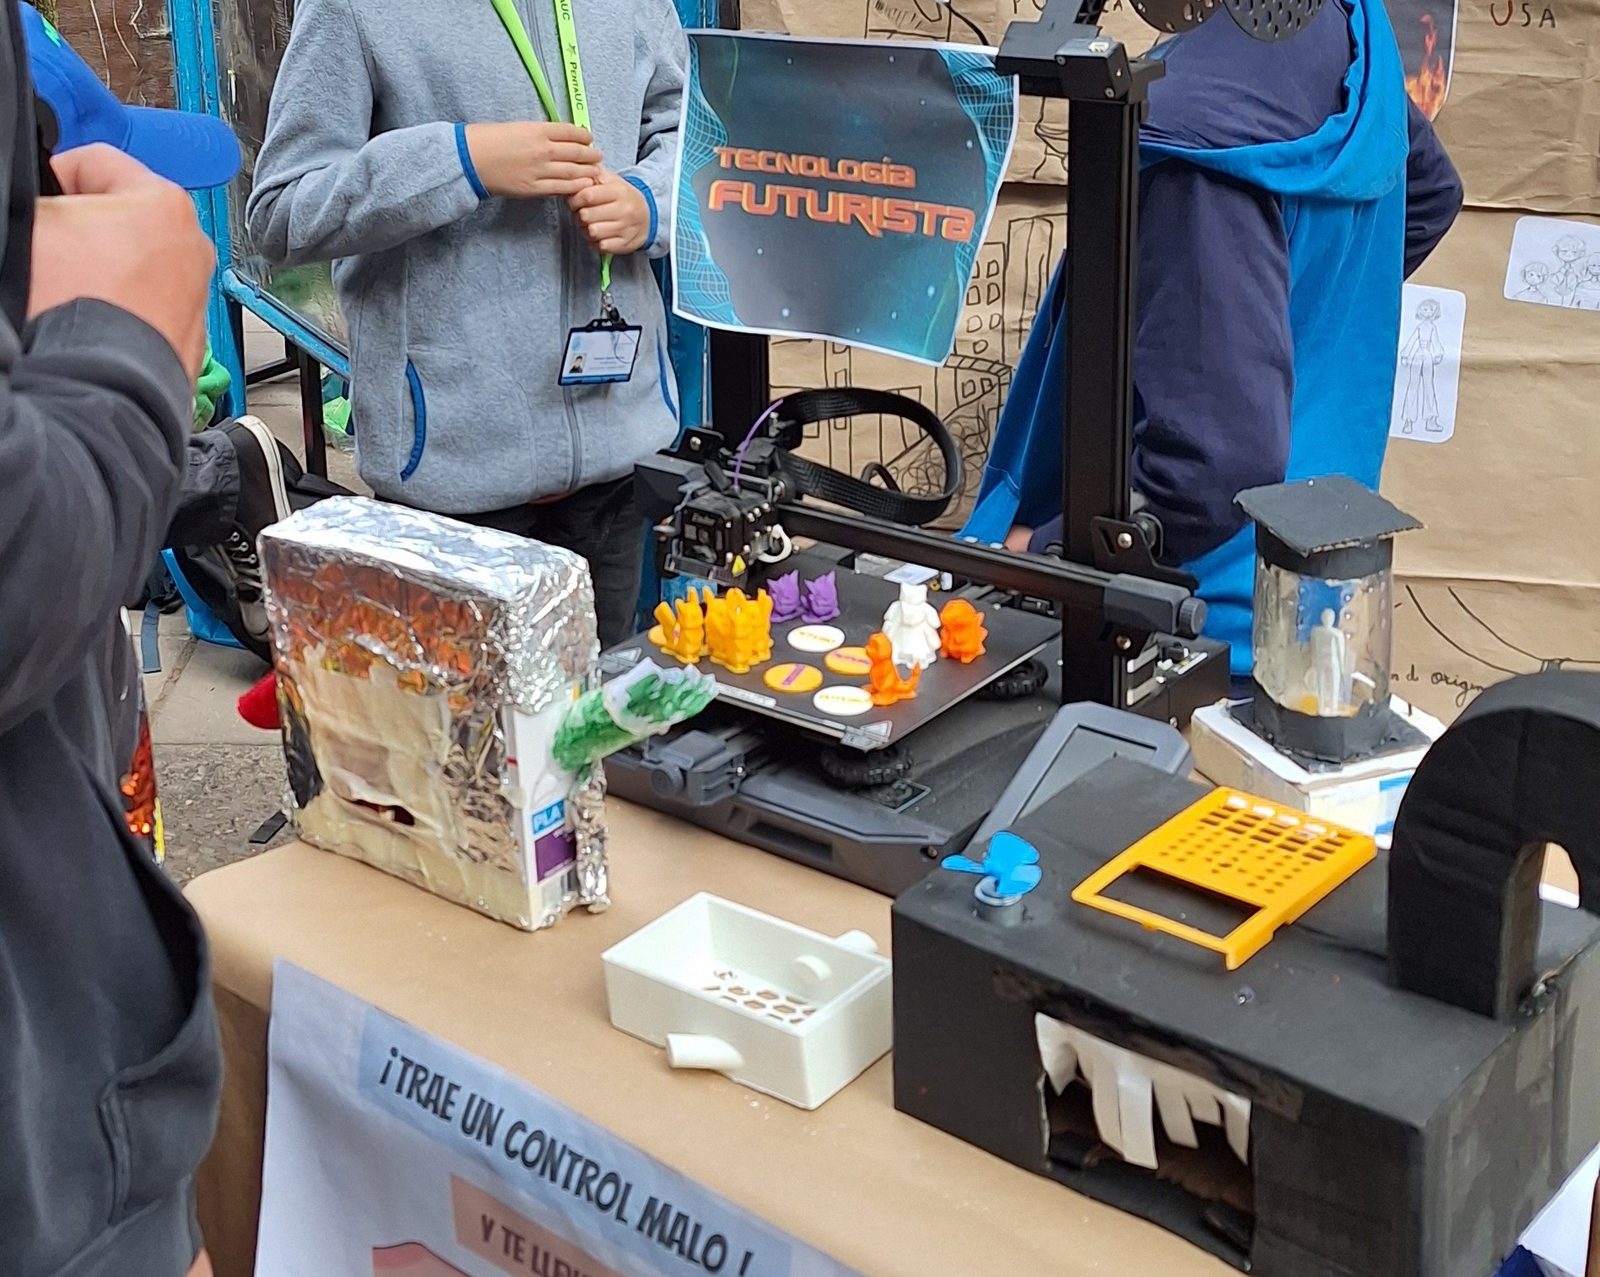
The result was a set of objects that works as a kit of what would exist in the future: prototypes that turn on lights, drive motors and include 3D printed parts designed by the students themselves.
Original course
I designed the full educational proposal: the concept, the objectives, the sequence of twelve sessions, the assessment tools and the class materials. It was my first course at PENTA UC.
Syllabus
- 01Introduction and first prototypingCourse methodology, team formation and a rapid prototyping exercise as an icebreaker.
- 02Possible futuresFilm and literature references, a collage of the future and a first 3D printing demo.
- 03Characters and spaces of the futureEmpathy map by team and first models in Tinkercad.
- 04Define the problemProblem tree and 3D printing of the previous session's progress.
- 05Ideate solutionsTeam brainstorming and first circuits: lighting an LED.
- 06Midterm assessmentIndividual 3D model of the designed solution, exported to STL and prepared in Cura.
- 07First prototypePrototyping with reused materials next to the parts already printed.
- 08Mastering 3D printingPrint settings and checking the project's circuits.
- 09Progress presentationTeam presentations and peer feedback.
- 10Review with a guest expertAn outside professional reviews the prototypes and talks with the teams.
- 11Preparing the fairFinal project log and final prototype.
- 12Learning fairFinal assessment: open exhibition of the finished prototypes.
Gallery